Remote learning this school term has meant that our days have started to blend into one another. As one of my friends said to me, “I put the bins out on Tuesday thinking it was Wednesday. Then had to go and find my phone later that day to see what day it actually was as the bins didn’t get emptied!” This made me laugh – and feel better that we had lost track of the days in lockdown too!
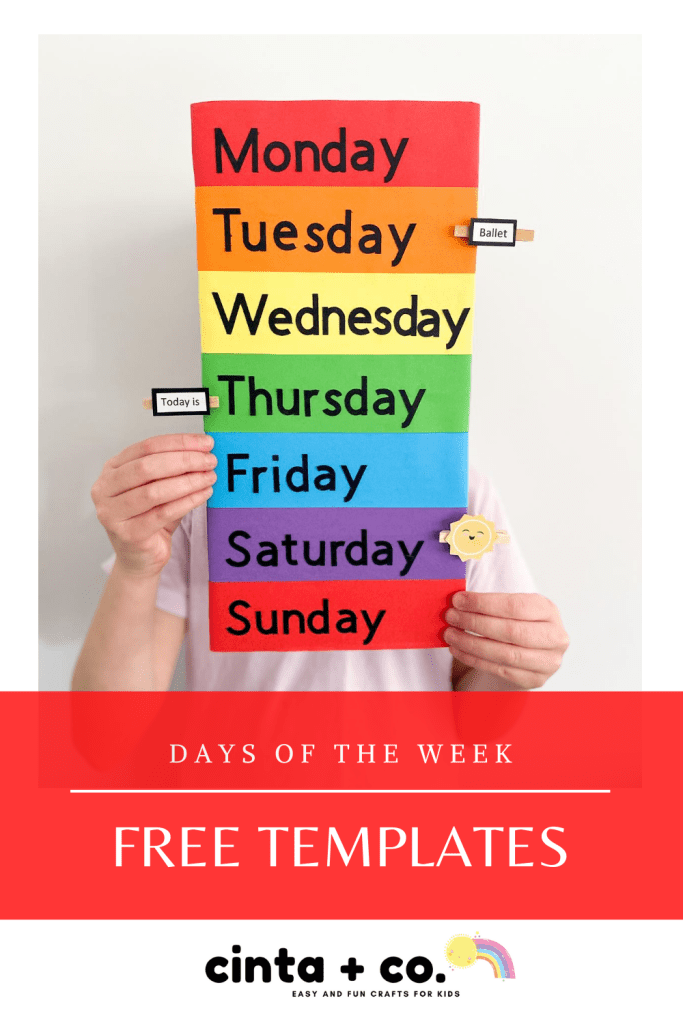
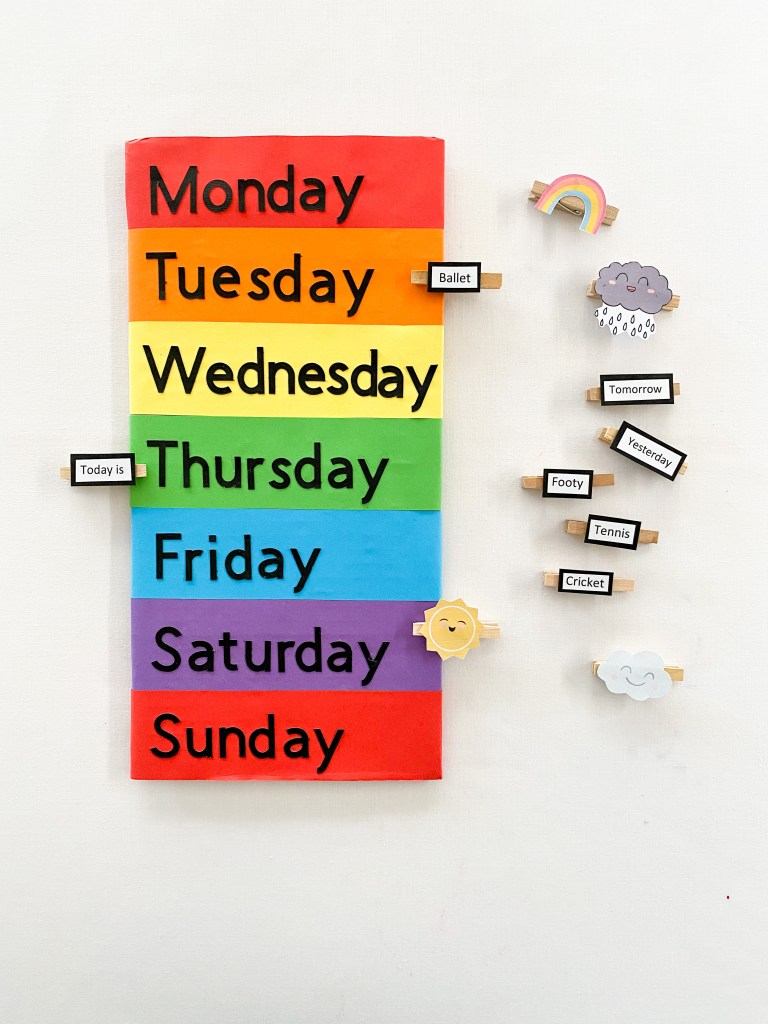
To help better keep track of our days, we turned a piece of recycled card into this colorful weekly calendar. These peg board calendars are super easy to put together, look amazing and because they are made from recycled card and paper, they are inexpensive to make. These calendars will help children learn the days of the week and their order, and you can also use them to keep track of after school activities and the weather.
This is what you will need:

Piece of recycled card
Strips of colored paper
Scissors
Glue stick
Tape
Black marker pen
Pegs
Printed labels and weather symbols
Small piece of black cardstock
This is what you will need to do:
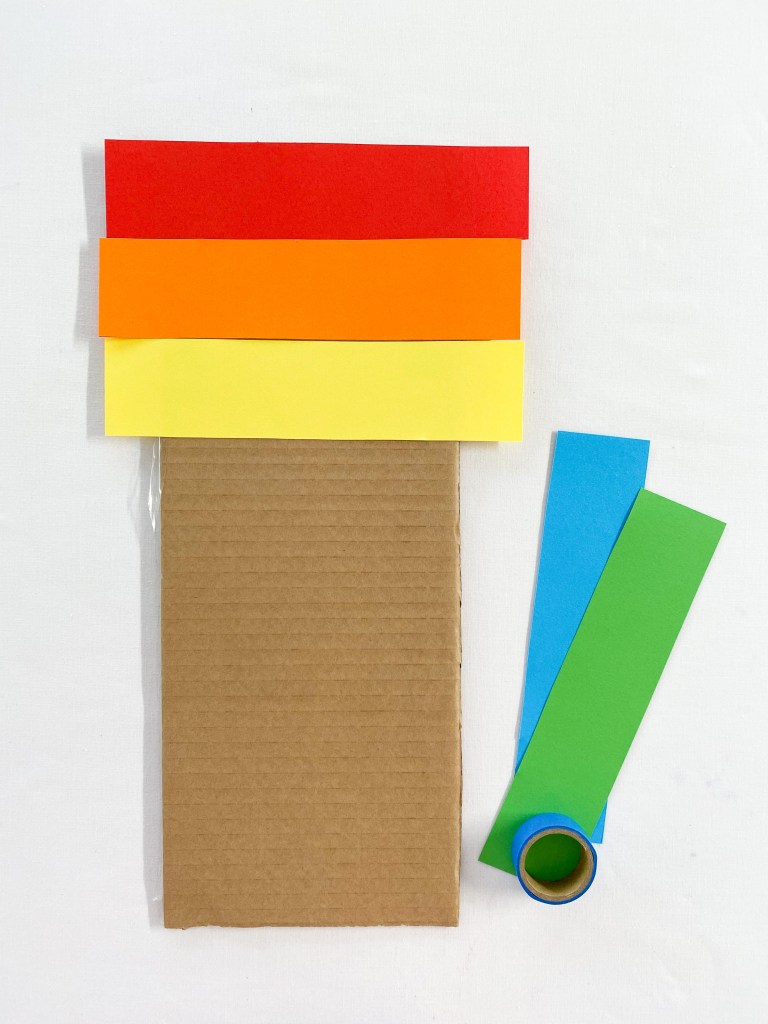
1. Cut strips of colored paper. You will need seven equally sized strips of paper – one for each day of the week.

2. Use a glue stick (or glue of your choice) and paste the strips along the length of the card. Keep pasting until you have your seven strips attached. If there is any card left uncovered, simply trim away the excess.
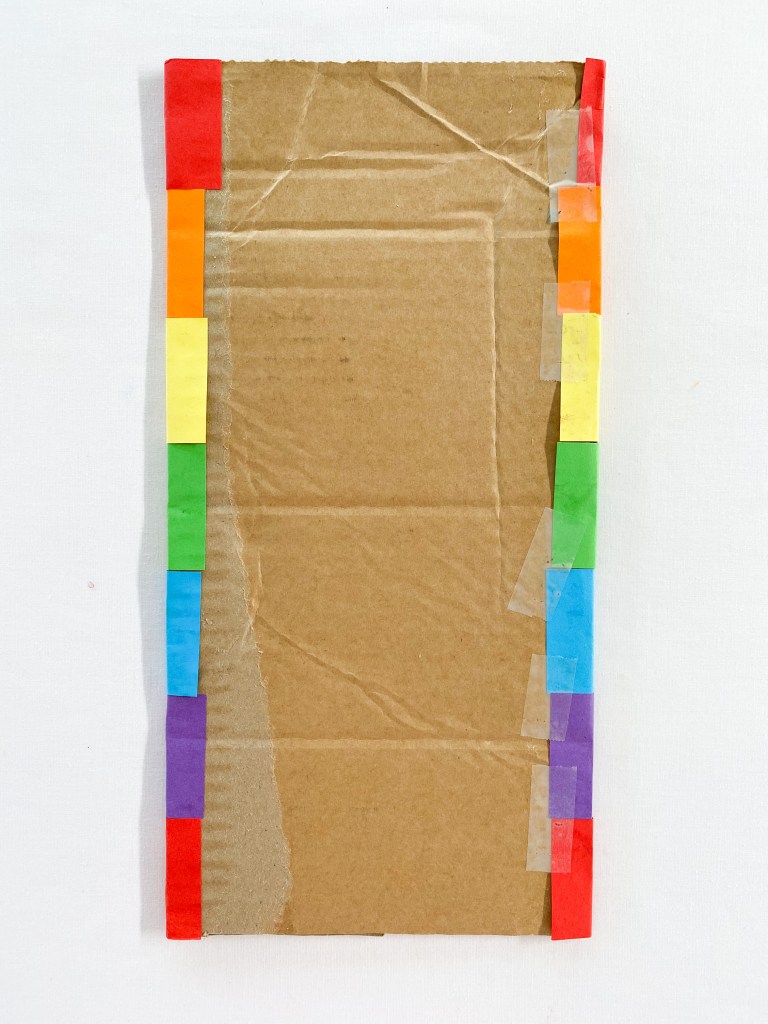
3. Flip the card over and fold the excess paper to the back. Secure the ends to the card with glue or tape – just like the example with the blue paper below.
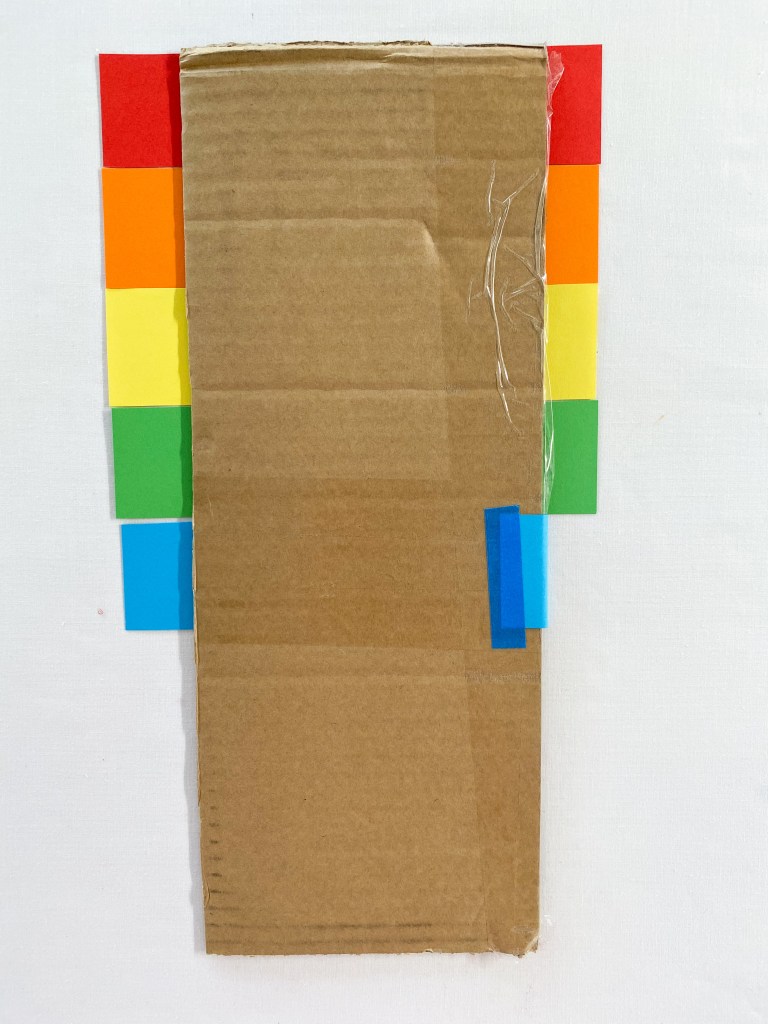
The finished card will look a little like this from the back. As you can see, the card does not need to be in perfect condition. The colored paper will cover any rips and tears in the card!
4. Next, label each day of the week. I used my Cricut to cut the letters and then glued them down. You could just as easily use a black marker pen to label the days. We started with Monday as our first day of the week, but feel free to start with Sunday if you would prefer.

5. The next thing to do is prepare the labels for your pegs. To do this, you can write the labels onto a piece of white paper, type and print them out – or use the free printable download below. It’s up to you! Once you have the labels prepared, paste them down onto a piece of black paper and trim. Attach them to your pegs.

Here is the Icon printable download
6. Now start pegging and labeling your days.

Thanks so much for reading this article! I hope you get a chance to make your own colorful days of the week peg calendar. Jacinta Xx
Here is a free printable days of the week board. It is a PDF set to the size of an A4 sheet of paper. It might be helpful in getting you started!
If you want your board to start on Monday, here is the printable for you!
If you would like your board to start on Sunday, here is the printable for you!