Our kids are really interested in astronomy and all things space at the moment! So we made this cute and super simple space craft for them to help learn about the phases of the Moon.
When you look at the night sky, have you ever noticed that the Moon appears to be a different shape each night? In actual fact, the shape of the Moon doesn’t actually change, but rather how much of the Moon that we see from earth changes. These shape changes are called the phases of the Moon.
The shining Moon that we see each night is caused by the Sun’s light reflecting off the Moon’s surface, as the Moon itself doesn’t actually give or emit any light. As the Moon orbits the Earth, the Sun lights up different parts of it.
When the Moon looks as though it is getting bigger, it’s called a ‘waxing’ Moon and when it appears to be getting smaller, it’s called a ‘waning’ Moon. When the entire face of the Moon that we see from Earth is fully turned towards the sun and illuminated, its called a Full Moon. As the Moon continues its orbit around the Earth, the face pointing towards us gradually becomes hidden from the sun and we can hardly see it at all. This is called a New Moon. Each phase of the moon is thought to be seen every 29.5 days.
There are 8 phases of the Moon. You will find them summarized in this document:
You may have also heard of the term ‘Blue Moon’ which is used to describe a second full moon in one calendar month, and a ‘Super Moon’ which is a Full Moon or a New Moon that occurs when the Moon orbits at its closest distance to Earth. Super Moons appear slightly larger in size than a normal Full Moon.
I didn’t take the best pictures of this activity sorry! We were having so much fun working together that we forgot all about the camera 🙂
This is what you will need:
Black cardstock
White paint
Paintbrush
Scissors
Tape
Print out of the moon
This is what you will need to do:
1. Cut a circle shape from the card and flick some white paint onto the card with a paintbrush. These flicks of white paint will represent the stars in the sky. I don’t have a picture with just the circle cut out I’m sorry – you will have to imagine this step. Then, print out a picture of the moon and tape to the back of the black card. (I simply googled the term ‘Moon’ and then cut and paste my favorite picture that I found into a word document before printing to size).
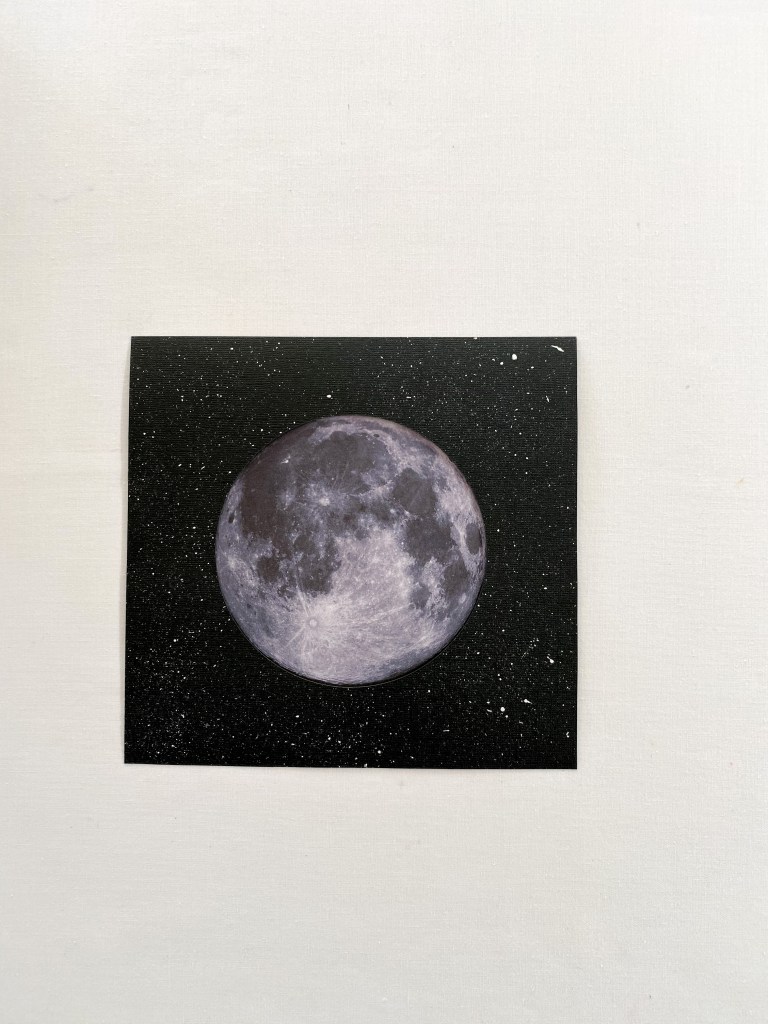
2. Use tape to secure the top and the bottom of the picture, but leave the sides of the picture unattached. We used black tape to secure our picture so it’s a little difficult to see.

3. Next, take a second piece of card and cut a curve around one edge.

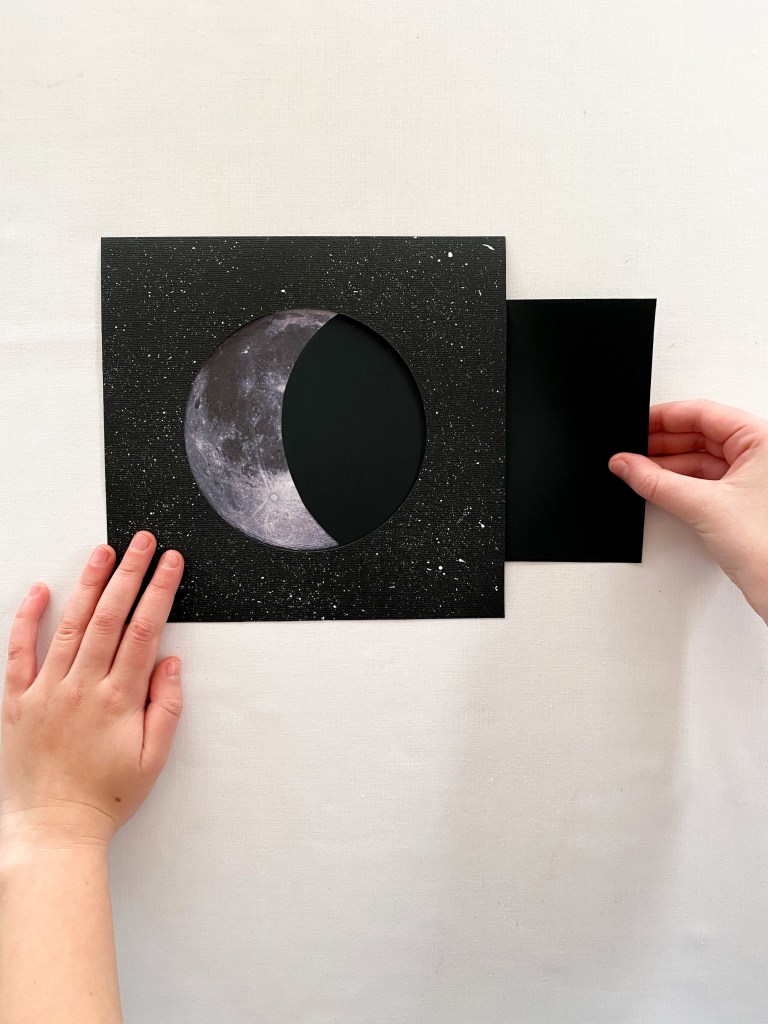
4. Thread the curved card through the side opening in between the paper and the card frame.
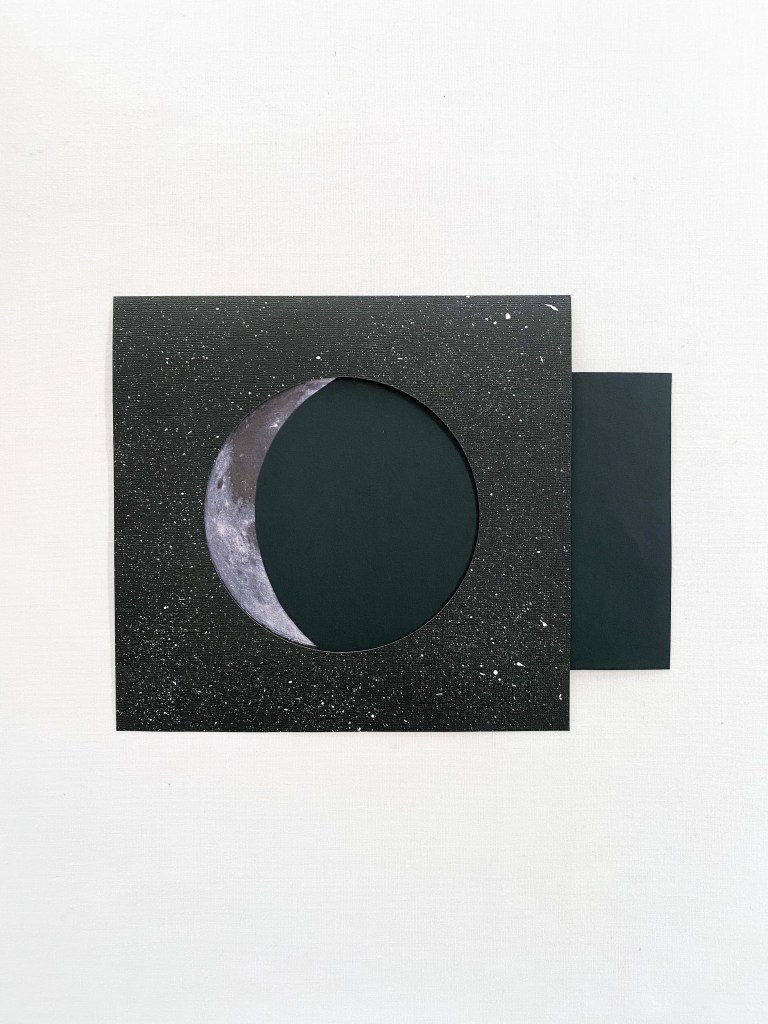
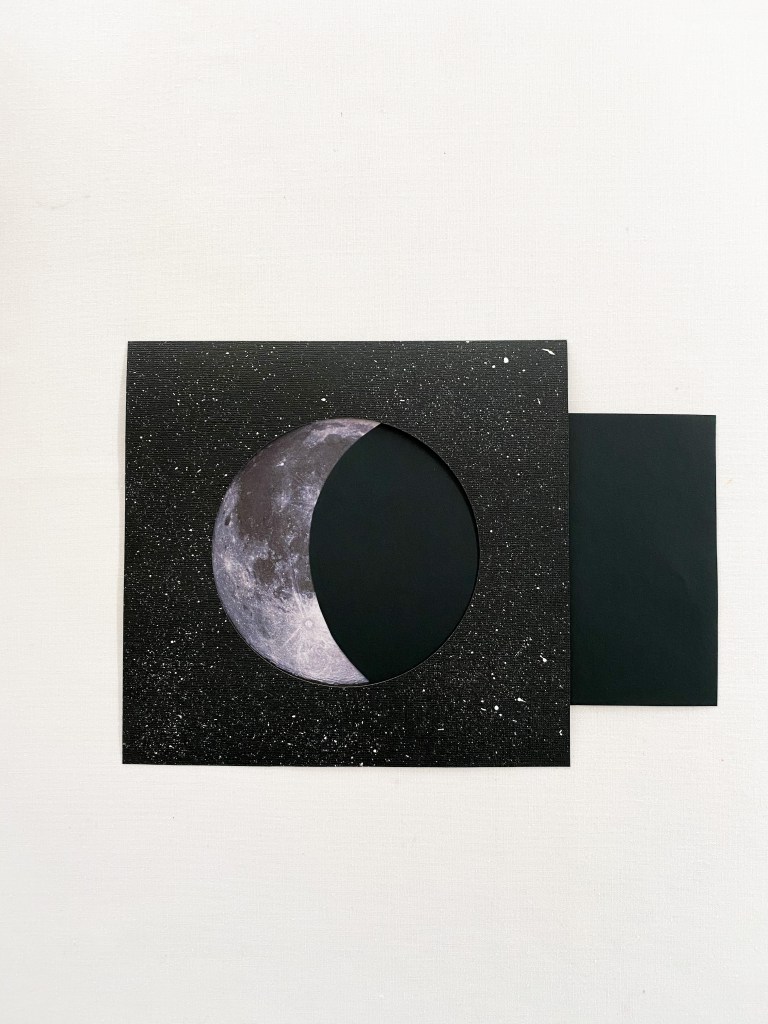
5. Pull the card across to the right to make the different phases of the moon.

You can also flip the card around to make the phases on the other side of the moon – if that makes sense!


Here is a template that you can cut and assemble to make your own phases of the moon diorama.


