I love this pretty flower activity! It’s super easy and inexpensive to put together, but resulted in so much fun and learning for my girls!
A couple of weeks ago we went for a walk together around our neighborhood, picking flowers that were growing on the nature strips – we didn’t pick any flowers from peoples gardens! It was actually nearing the end of winter, so we were really surprised to find so many beautiful, bright colored flowers growing.
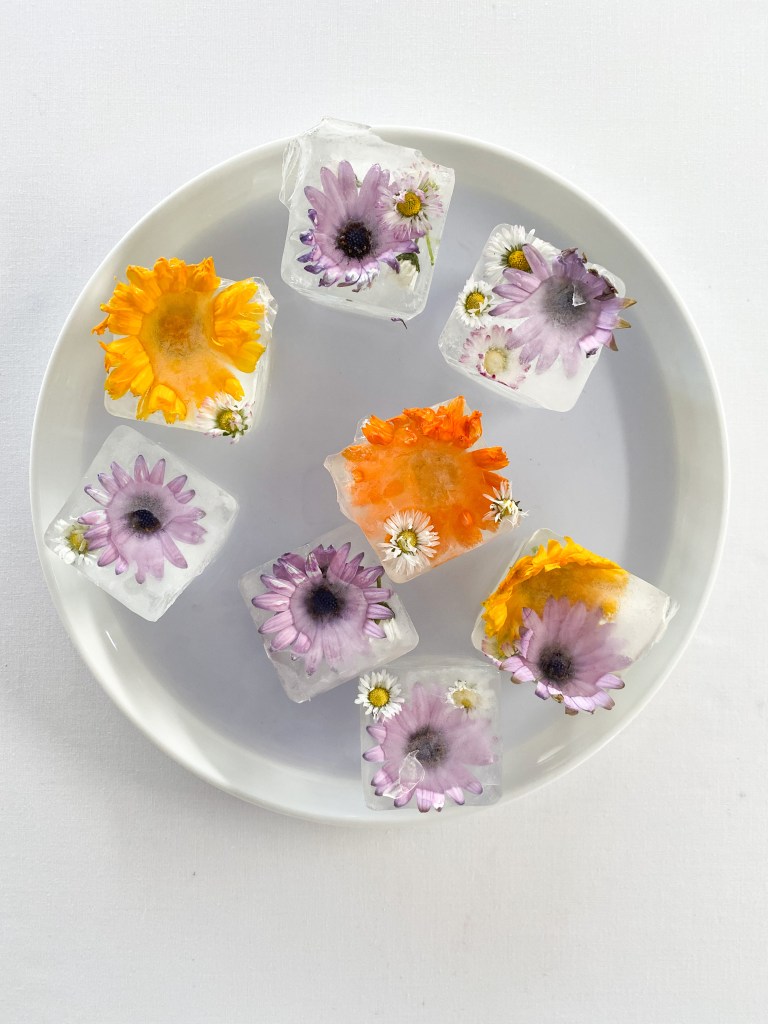
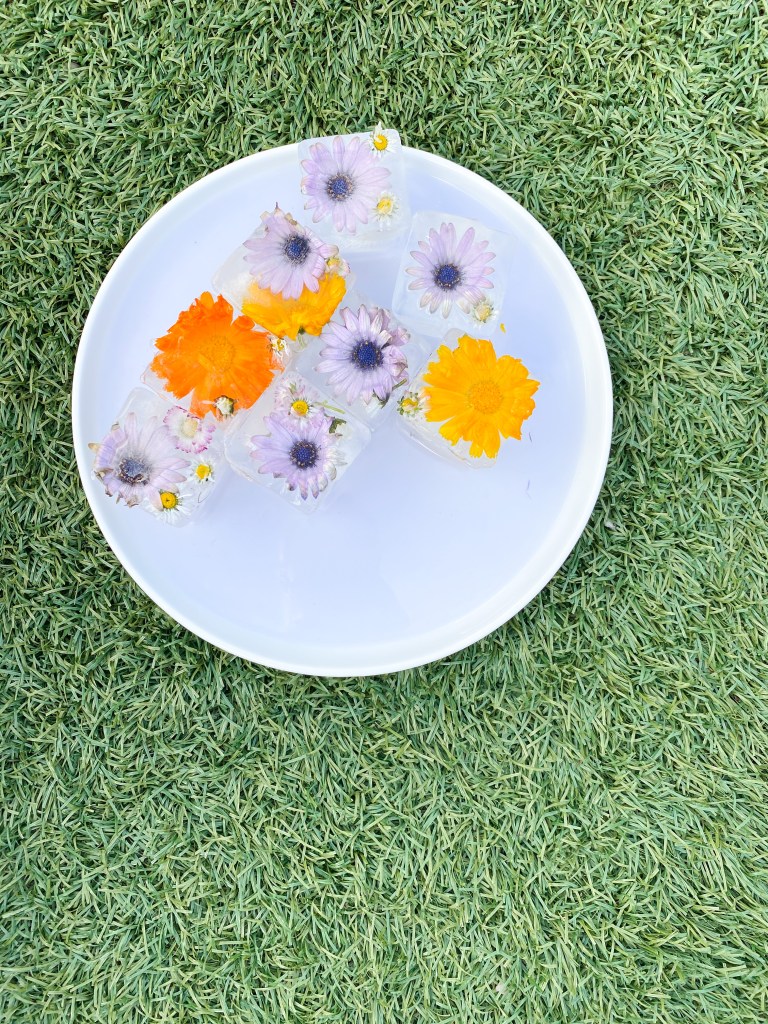
Once we were home, we placed the flowers into an over sized ice cube tray, filled the tray with water and popped them into the freezer. To be totally honest, that’s where they sat for the next couple of weeks! But, we finally pulled them out yesterday and had the best time with them.
We used solutions of warm water (with a small amount of purple food dye added) and salt to melt the blocks. We talked about melting points and the patterns that we could make in the ice with the salt. We also noted how the flowers looked different on thawing than they did before we froze them! All great scientific observations.
Here is what you will need:
Flowers
Ice cube tray
Water
Plastic pipettes or squeeze bottles
Salt
Food coloring
Here is what you will need to do:
1. Pick some flowers. You might find these in your garden or in your neighborhood. Remember that if you are going to walk your neighborhood, make sure that an adult is present and that you watch for traffic when crossing roads.
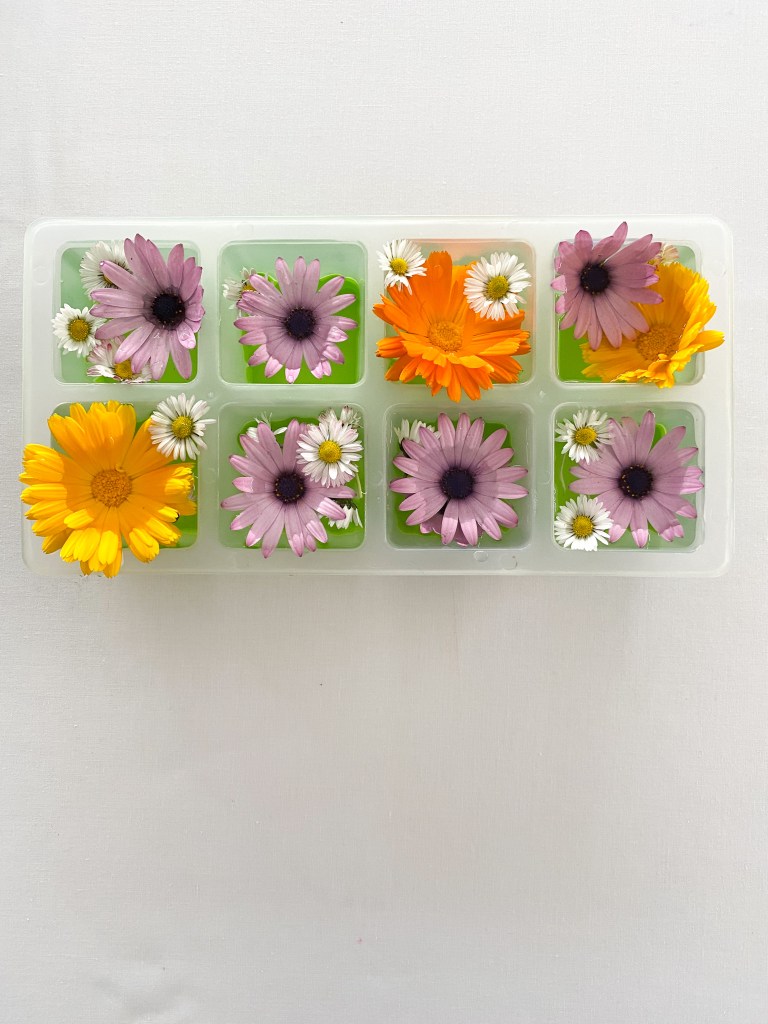
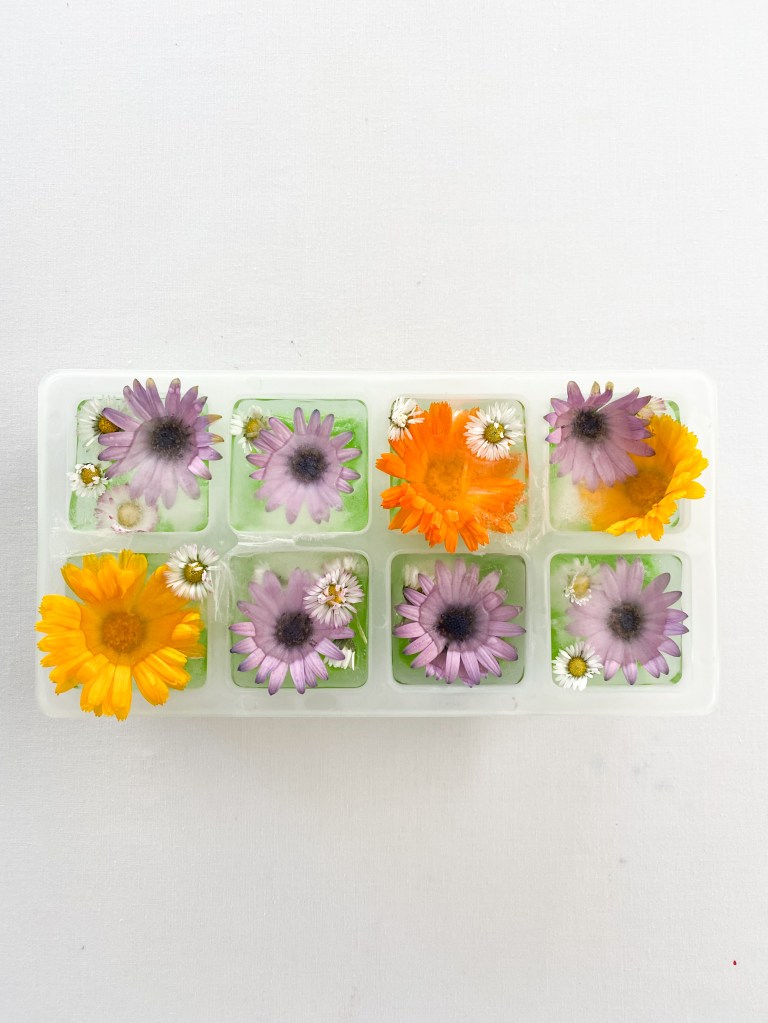
2. Place your flowers into the ice cube tray.

3. Fill the tray with water. You will notice that the flowers float to the top of the ice cube tray wells.
4. Pop the ice cube tray into the freezer. It will probably take overnight to freeze – especially if you are using similar trays to ours.
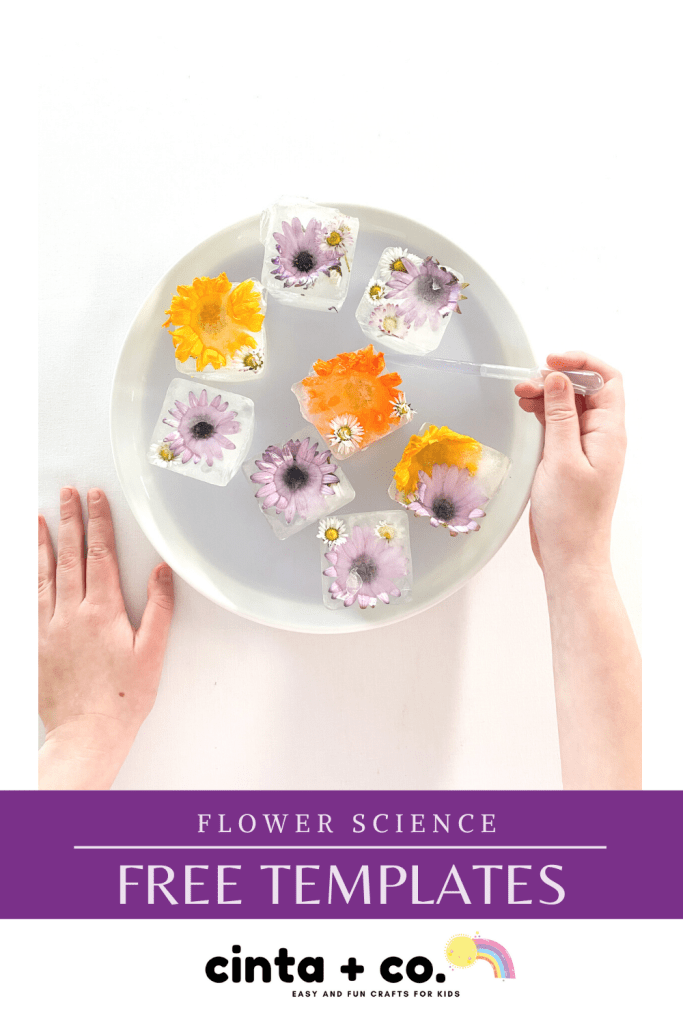
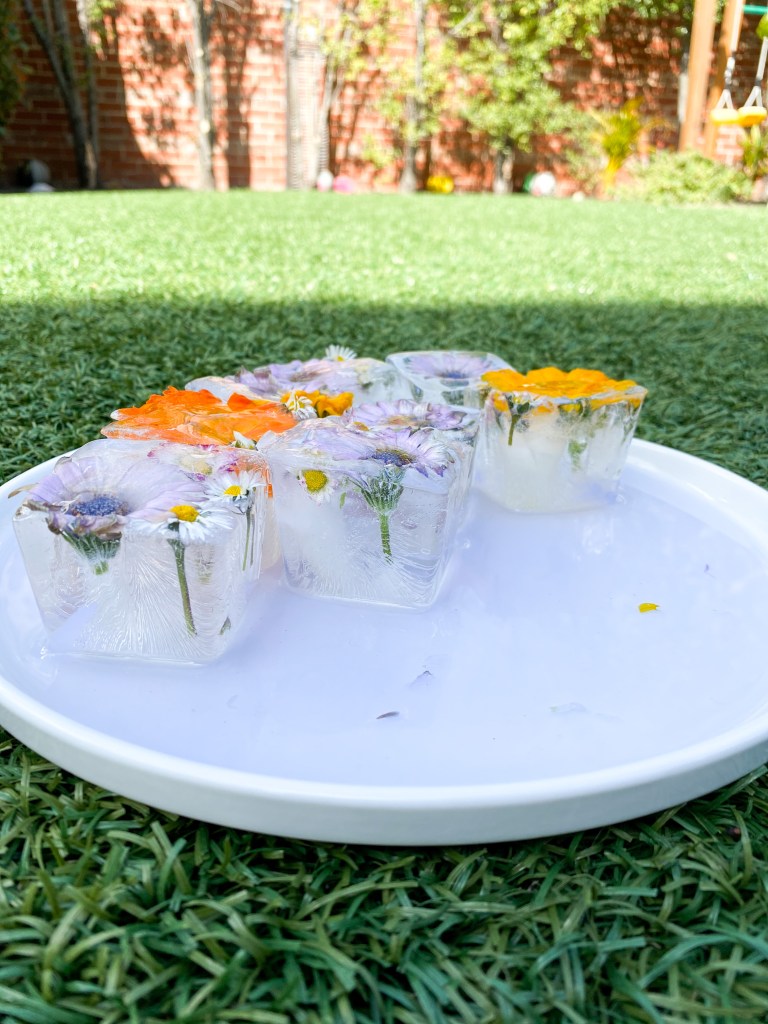
5. Place the frozen blocks onto a tray. Pour a small amount of warm water into the tray. We colored our water with a drop of purple food dye.
6. Take your pipette and drop the water over the ice blocks. Keep dropping until you see your ice blocks start to disappear. You can also sprinkle some salt over the ice blocks to speed up the thawing process.

7. If you don’t have a plastic pipette, you can also use squeeze or spray bottles to transfer the water. It’s totally up to you!

8. And this activity is a fun one to do outside! Take your tray out into a warm sunny spot and experiment further. This also makes clean up simple!
The Science:
Have you ever wondered why salt makes ice melt faster? The answer is actually really simple. Salt lowers the melting point of the water, meaning it will thaw at a lower temperature. The more salt that you add, the faster the ice will melt.
Thank you so much for reading! If you have any questions pop them in the comments section below. Jacinta Xx
Here is a fun FREE printable for you! It is a fun number matching game.