Easy Sun Math for Kids

My kids loved this super easy math lesson. Adding the sun rays to each smiling sun was such fun, and a perfect way to learn so many early numeracy skills including number recognition, addition and subtraction, subtilizing and 1:1 correspondence. I made this easy template from some colored construction paper and a piece of recycled cardboard, but if you are short on time, I have a FREE printable version that you might like to use. Once printed, you could even laminate it so that it can be used over and over again!

Advertisements

This is what you will need:

A piece of recycled cardboard

Colored construction paper

White printer paper

Scissors

A small square of sticky contact

Dry erase marker

Googly eyes

Glue stick

Washi tape (optional for border)

Advertisements

This is what you will need to do:

1. Cut a sun shape from some orange construction paper and glue it to the piece of recycled cardboard. You might like to give your sun a smiley face too! Next, paste a square of white paper to the top right hand corner of your cardboard. Cover the white square with a piece of clear sticky contact – this will make your board wipeable and allow it to be used over and over again. You will also need some small rectangle “sun rays. Cut these from yellow construction paper.

Advertisements

2. Print the free Sun Numbers worksheet and use this to practice your numbers. Select one of the suns, count the rays, write the number in the box and the place the corresponding number of sun rays onto the sun.

Advertisements

3. Use a wipeable or dry erase marker to write the number of rays on the white square. Then add the corresponding number of sun rays to your sun. You don’t need to paste the paper rays down. Just let them sit there so that you can play over and over again.

Advertisements

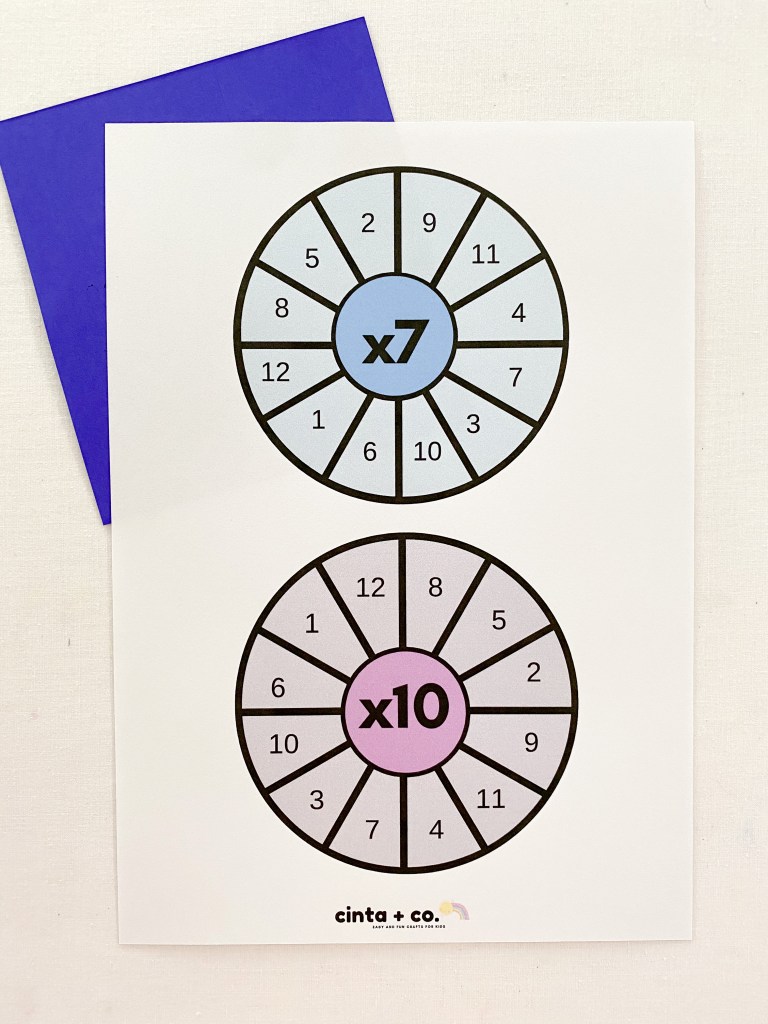
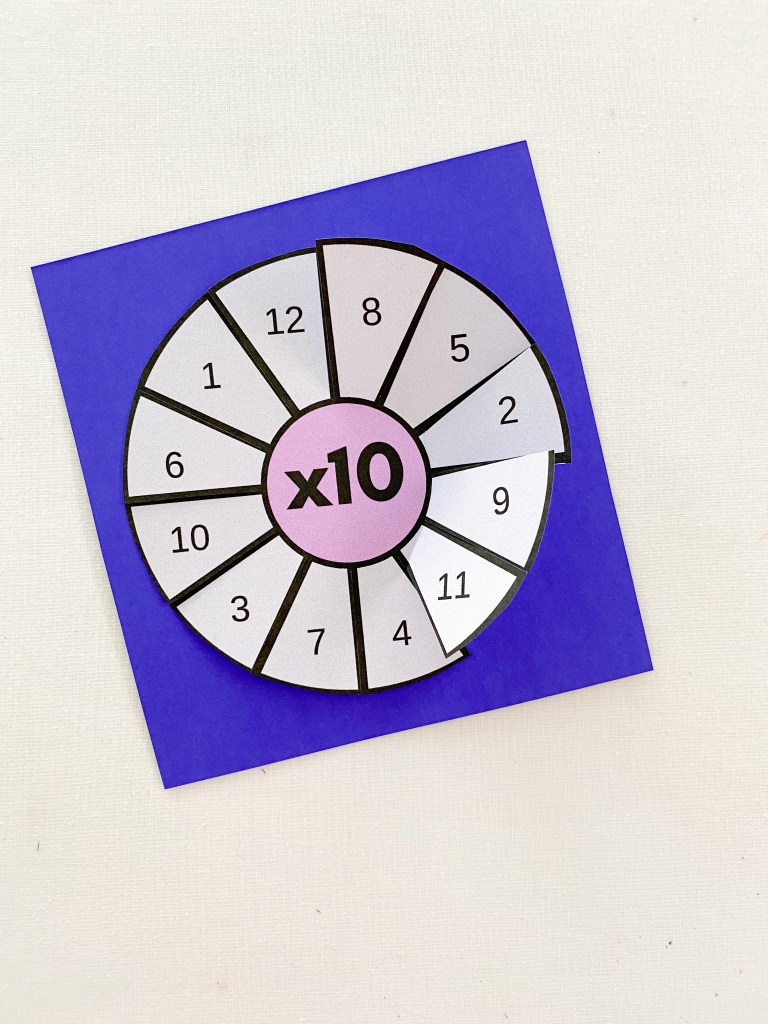
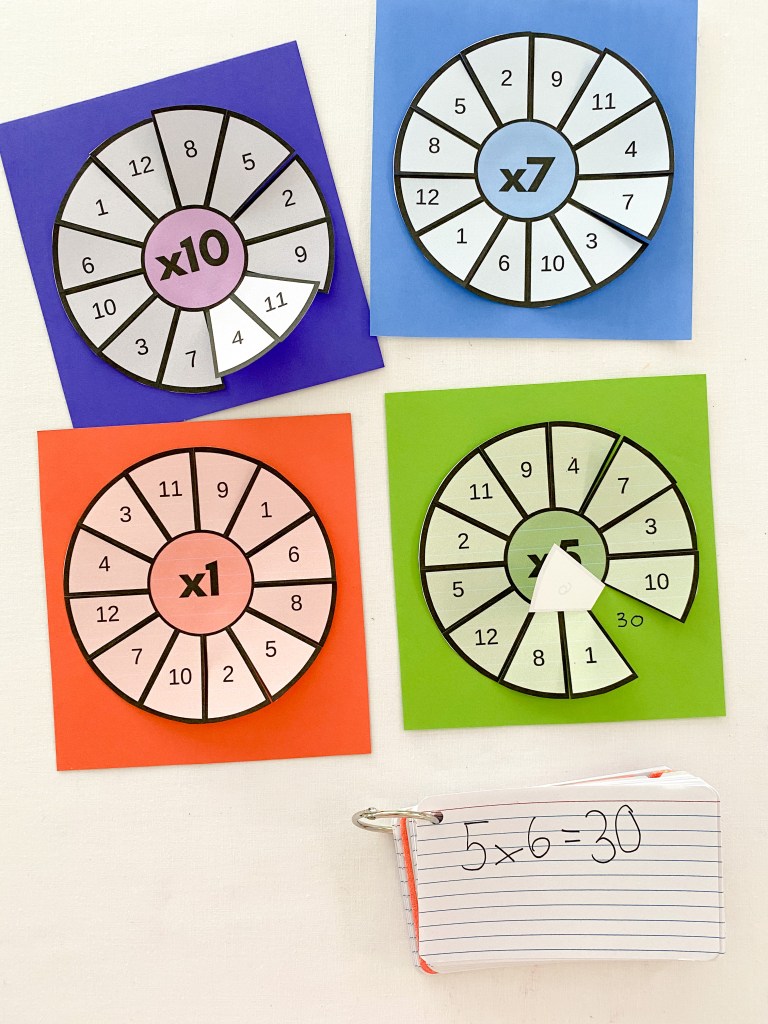
Here are the FREE printable worksheets:

Advertisements
Advertisements
Advertisements
Advertisement

Easy Shape Activities for Kids

Learning how to recognize shapes and their properties is an essential early numeracy skill. My kids love learning all about shapes, and I love putting activities together that teach about shapes. As you can see in this post, shape activities can be so easy to set up, require few materials and can be played with over and over again.

Advertisements

This is what you will needyou will only need three things!

A piece of recycled cardboard

Shape stickers – if you do not have stickers, simply use some marker pens to draw them!

Small pegs

Advertisements

This is what you will need to do:

1. Trim your piece of cardboard to size. For reference, our piece of cardboard is about 30 cm long and 20 cm high. This is just a rough guide though, you can use any size piece of card that you like. Once you are happy with your cardboard, simply paste stickers around the edge of the card. Make sure you leave enough space to place a peg between the sticker and the actual edge of the card.

If you do not have shape stickers, simply draw some shapes with marker pens or colored pencils directly onto the card. You can draw any shape and use any colors that you like!

Advertisements

2. Next, prepare your matching pegs. I used small shape stickers to label our pegs. As our game is a shape and color matching game, I made sure that the pegs were labelled with the same colored shape as the shapes on the cardboard.

Advertisements

3. Now play! Simply match the pegs to the board. Attaching the pegs is great for fine motor skill development and for encouraging pincer grip – the finger grip required to hold a pencil.

Advertisements

And the neat thing about this game is that there are so many ways to play. You could use a timer and see how quickly you can match the pegs or you could call out a shape or color and find the corresponding peg to match! And if you have colored pegs, you could even match colors to shapes. See the pictures below for that to make more sense 😉

Advertisements

Thank you so much for reading! Jacinta Xx. I hope that you enjoy these fun shape printables!

Advertisements
Advertisements

Early Math Activities for Kids

I really love activities that develop math skills! Especially activities that encourage number recognition, counting skills, subitising and 1:1 correspondence. The activities that I describe here are perfect for developing all of these early numeracy skills. And best of all, you probably have everything you need to play at home already!

These activities are actually an extension of a recent blog article I posted entitled “Build A City.” You may have read it already? As well as working on the early math skills I listed above, these activities also introduce some simple addition and subtraction principles.

Advertisements

This is what you will need:

Printed copy of the downloadable files

Lego, duplo bricks or building blocks

Advertisements

Build a Tower

For this first activity, simply print out the “Build a Tower” file – you will find a link at the end of this paragraph. Then build a tower, stacking the number of bricks or blocks in each square. You will notice that the squares on the page are at different angles. This encourages your child to manipulate the angle of their tower on the page. This manipulation of angle is great for developing fine motor skills.

Here are the files that you will need. There is a black and white one, where you can match any color bricks to the squares, and a colored file. For this one, you can match colored bricks to each square.

Advertisements

Add a Tower

You will get to practice some easy addition in this activity. Begin by printing out the downloadable file – again, you will find this file at the end of the paragraph. Then simply add the blocks together to build the towers.

Here is the file that you will need:

Advertisements

Subtract a Tower

You guessed it! This next activity is subtract a tower. Start by printing the downloadable file and then substract the blocks. Place the resulting stack onto the corresponding square.

Here is the file that you will need:

Advertisements

I really hope that you enjoy building these towers! Enjoy! Jacinta Xx

Advertisements

Times Tables Games for Kids

There are so many fun games that you can play to help your kids learn their times tables. These times tables wheels are one of our favorite ways to play and learn. They are great as they allow for both memorization and self correction. Children can play and learn on their own or in groups in a classroom. And, you can answer the times tables as you go around the wheel or pick and choose each multiplication sum at random. There are so many fun ways to play!

Times table wheels are so easy to make! And once you have made a set, you can use them over and over again for lots of learning fun.

Advertisements

This is what you will need:

Print out of the times tables wheel file

Colored construction paper

Scissors

Glue

This is what you will need to do:

1. Print out the times tables wheel file. You will find the file here:

2. Cut around the perimeter of the circle and snip along the lines to the center circle to separate each number. Fold the sections back.

3. Paste the wheel down onto a colored piece of paper. Make sure that you only glue the center of the circle to the paper. You will need the snipped sections to be free so that you can fold them back to reveal your multiplication answers.

4. Write the answers to each sum under the folded pieces of paper.

5. Play!

I hope this makes learning times tables in your house more fun! Enjoy! Jacinta Xx

Advertisements
Advertisements