This penguin shape sort activity is one of my post popular posts! We made these cute little penguins from construction paper and then matched foam shape stickers to each penguin. This activity is perfect for developing shape recognition and fine motor skills. But most importantly, it’s simply fun!! And you can scroll down for FREE printable versions of the activity too.
Advertisements
This is what you will need:
Construction paper
Scissors
Glue stick
Googly eyes
Foam shape stickers
Advertisements
This is what you will need to do:
1. Cut your penguin shapes and glue down some googly eyes.
Advertisements
2. Sort your stickers to each penguin.
Advertisements
If you would like a FREE printable version of this activity click this link:
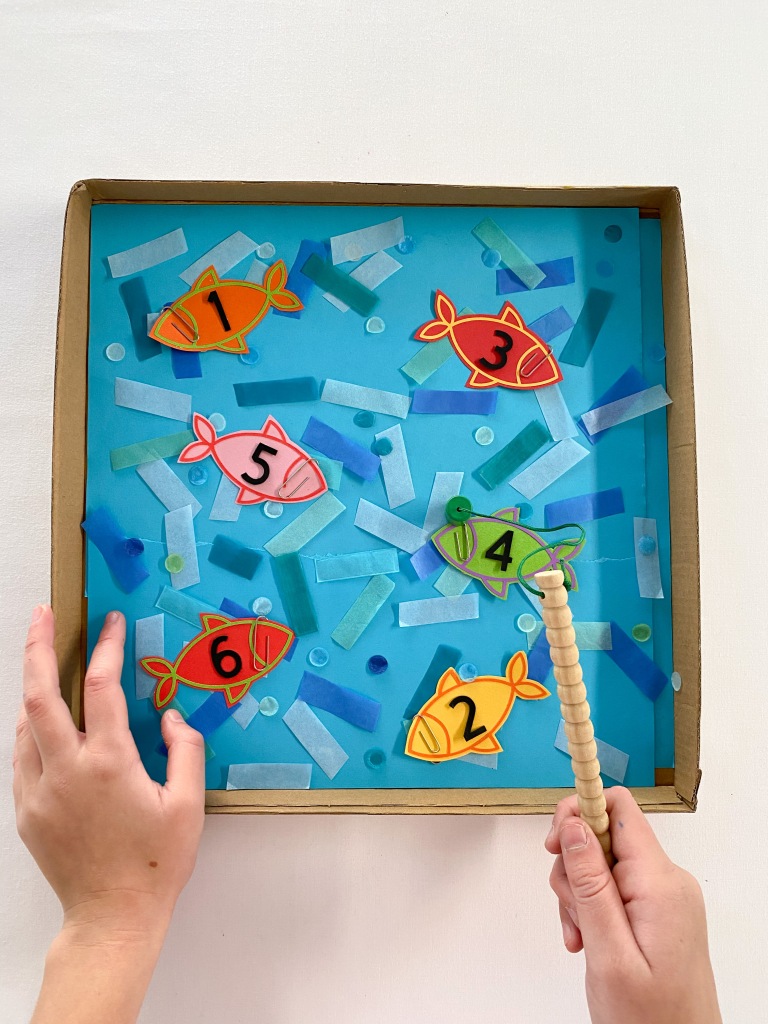
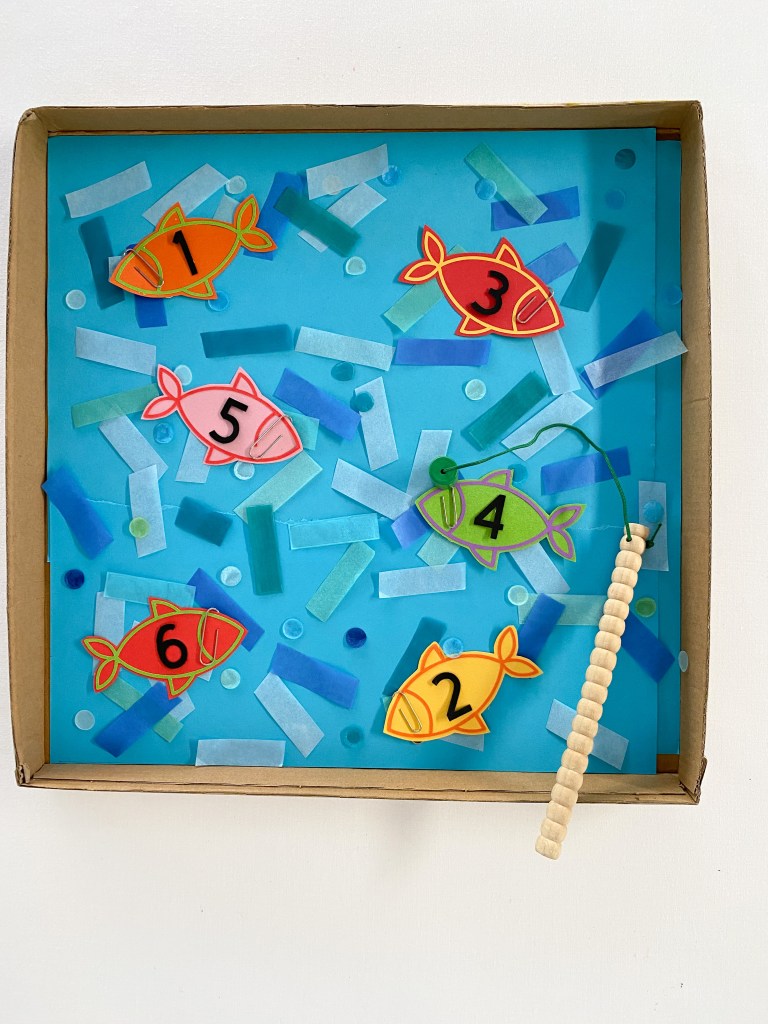
DIY fishing games are a wonderful way for children to build and explore many developmental skills including fine motor skills, motor strength, hand eye coordination, problem solving and even some early math and literacy skills.
This DIY fishing game is the easiest to put together and lots of fun to play. And if you don’t have time to make your own game from scratch, scroll down to the end of this article for a FREE printable version.
Advertisements
What you will need:
Empty cardboard box (a cereal box would be perfect)
Colored paper
Tissue paper confetti (optional)
Scissors
Marker pen
Paper clips
Magnetic wand or toy fishing rod.
!WARNING! I do not recommend using small magnets in this activity. Small magnets are not to be ingested and parents should always carefully observe their children when playing with small parts – especially magnets.
Advertisements
What you will need to do:
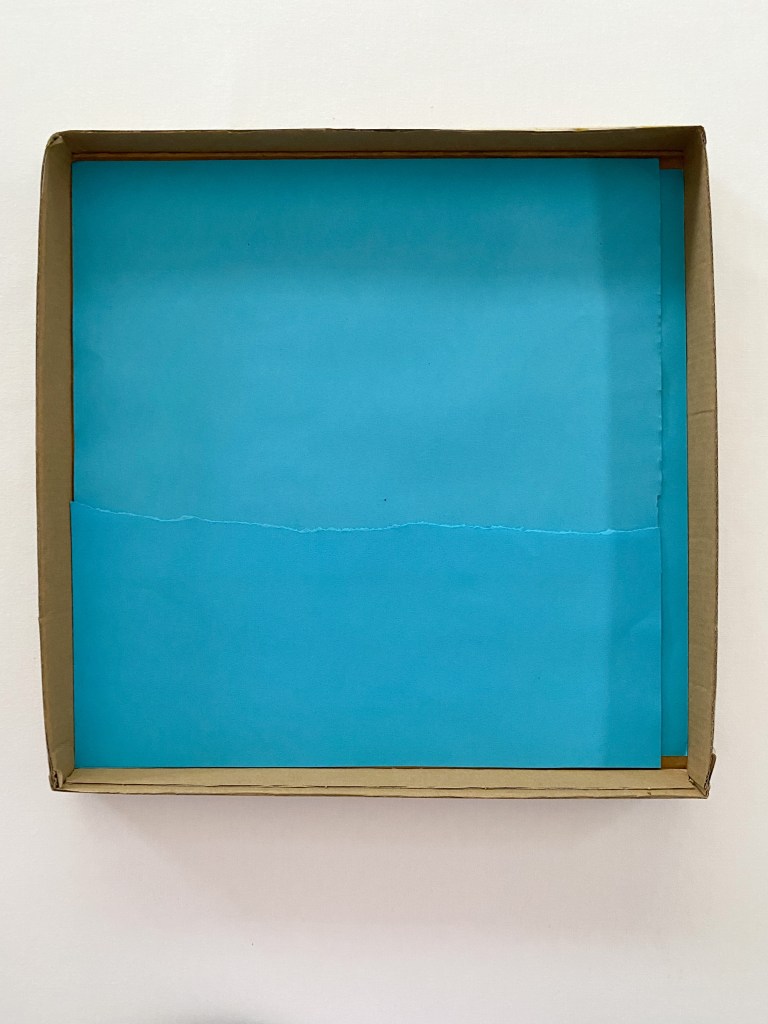
1. Very carefully cut the front away from the cereal box with scissors. This can be a little tricky, so you may need to ask an adult to help you with this. You might also need to secure the corners of the box with sticky tape to prevent it from falling apart. Once your box is ready, line the surface of the box with blue paper so that it looks like water.
Advertisements
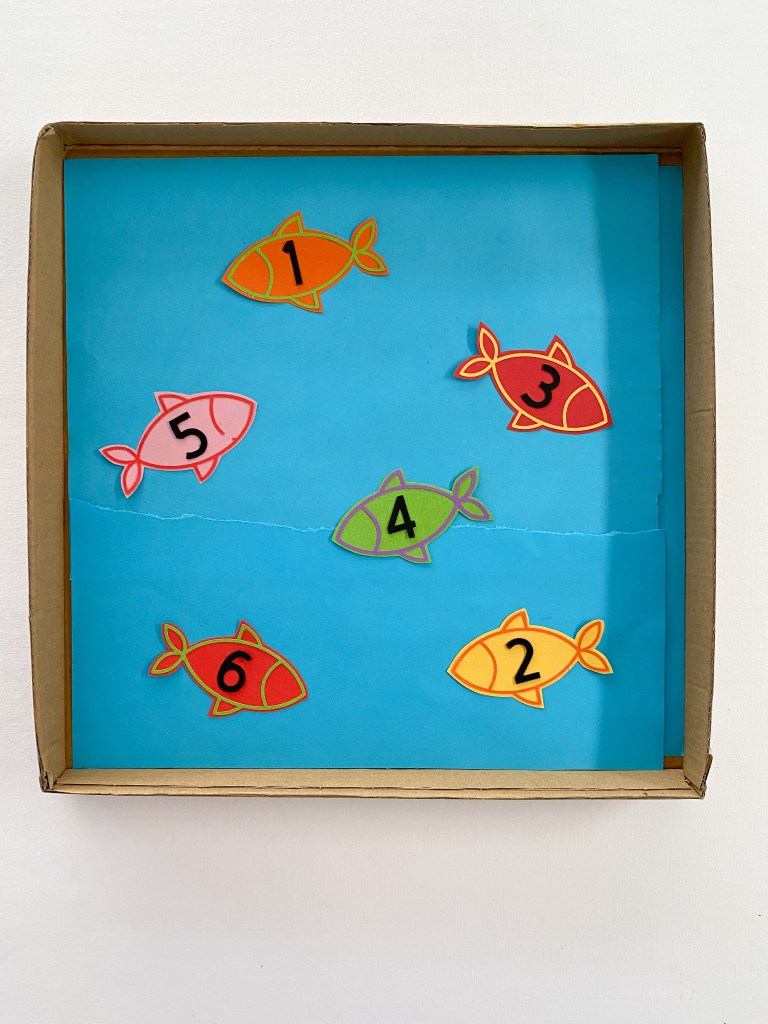
2. Using your scissors, very carefully cut out some fish shapes. You can do this by eye or if you have a paper cutter, like a Cricut, you may like to use that! Place the fish into your box.
Advertisements
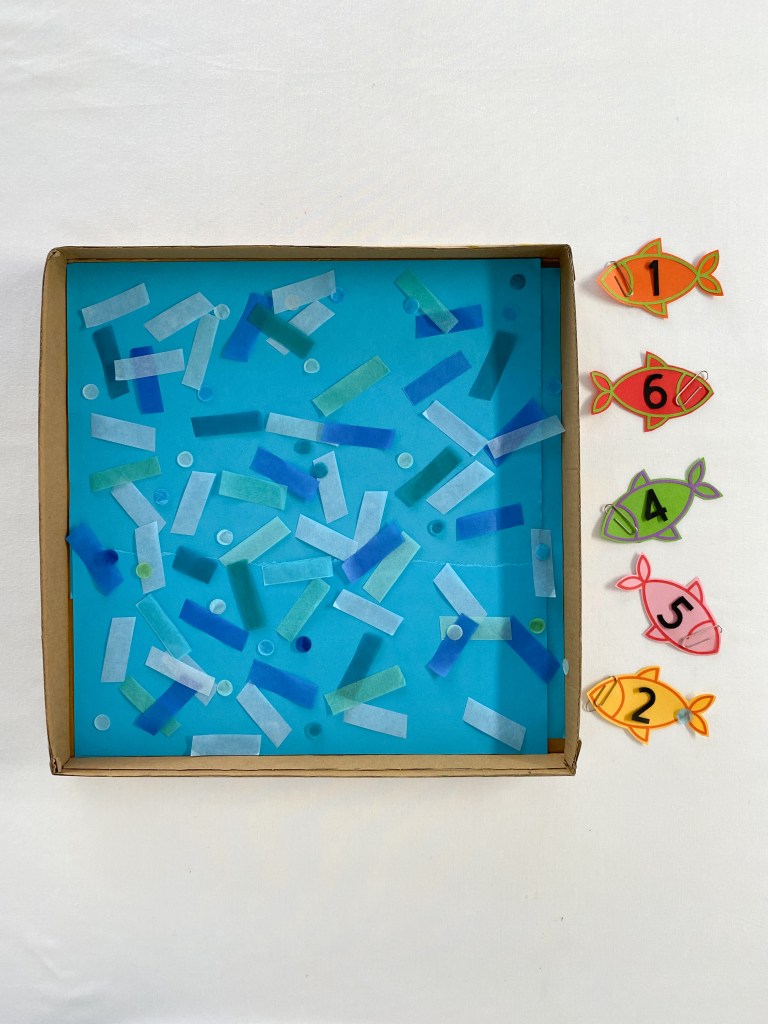
3. If you would like to practice some early numeracy skills, you might like to add a number to each fish. You can collage the number with paper or simply write it out with pencil. You might also like to add some tissue paper to the box for some extra detail.
Advertisements
4. Next, carefully thread a paper clip onto each of the fish. Remember that paper clips are small and an adult should always watch small children closely when using.
Advertisements
5. Grab a magnetic wand or toy fishing rod that you may have at home and catch the fish!
Advertisements
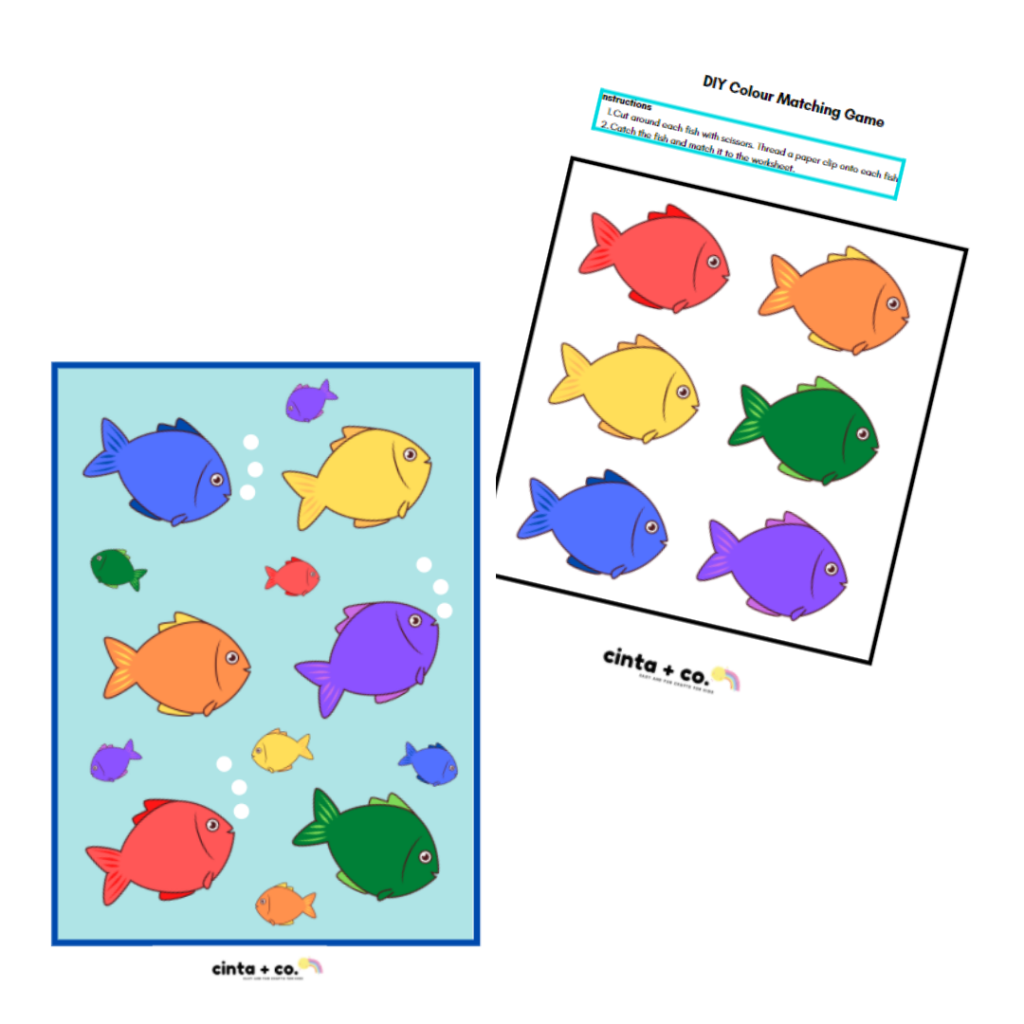
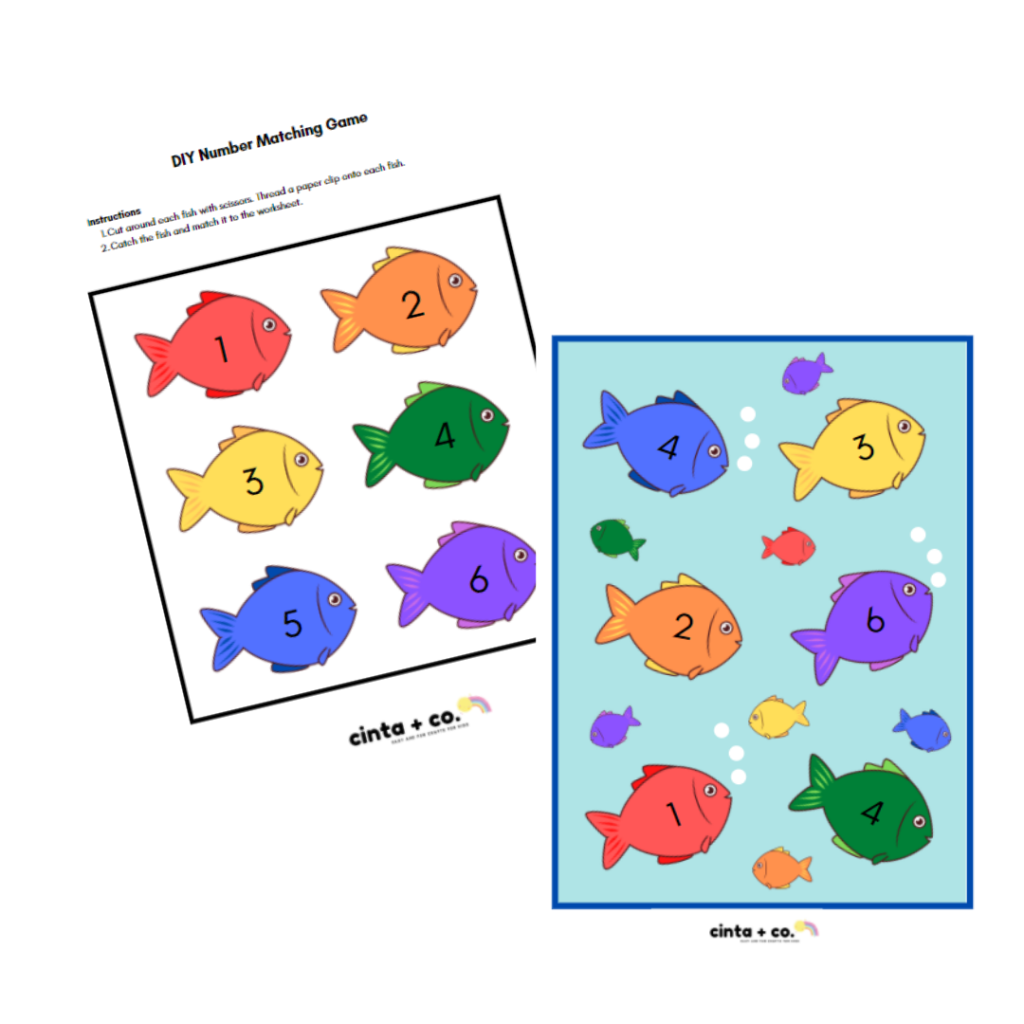
Here is the FREE color match printable worksheet for you:
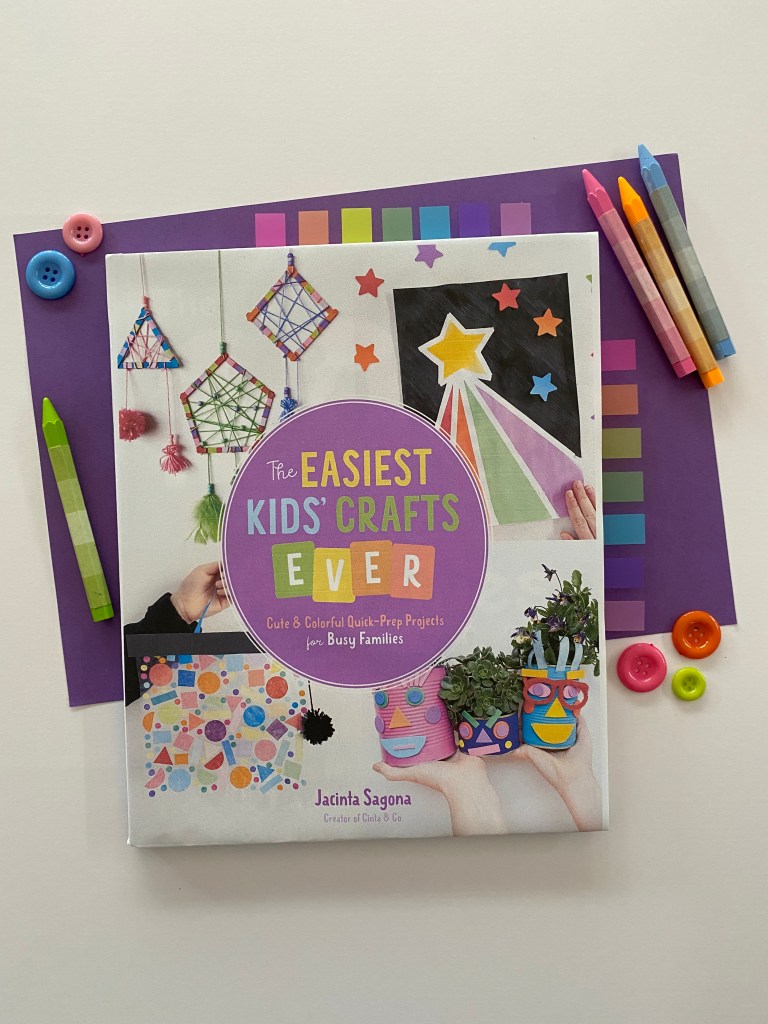
I am so excited to let you all know that my very first kids craft book is available for preorder! I am so proud of this book. It is bright and colorful, is filled with super fun crafts (with step-by-step instructions) and only requires easily accessible supplies. The colorful crafts are as cute as they are playful. And, while the kids enjoy making these delightful crafts, they will also be developing their fine motor skills, critical thinking, creativity and even STEAM understanding. This book compiles 60 new projects with step-by-step photos for hours of fun. I would LOVE to know what you think about it!
Here is the blurb:
Transform Everyday Materials into Effortless, Cute Crafts!
Turn your bin of ordinary crafting supplies into a day of happy, colorful fun! Jacinta Sagona’s 60 charming crafts use simple materials you already have at home in new ways to captivate your little ones’ imaginations for hours. These craft ideas will help children of all ages tap into their creative tendencies by encouraging experimentation, spontaneity and mindfulness.
Your kids will love the helpful step-by-step photos and variety of projects, ranging from sweet animals and decorative wall hangings to handmade toys and games, and you will love how easy the projects are to set up (with minimal cleanup!). Let them put recycled cardboard and common craft paper to good use with unique crafts like a Paper Lantern Garden and a Pom-Pom Blowing Unicorn. Watch them delight in toys and painting activities like Stained-Glass Windows and a Musical Guitar. Introduce them to the practice of mindfulness with calming projects like Gratitude Mini-Piñatas, Guatemalan Worry Dolls and Yarn Hearts.
Perfect for parents, grandparents, teachers and babysitters, this book is a treasure trove of super simple ideas you can dive into anytime you are looking for an art project for the kids. You’ll love bonding with them and witnessing their budding imaginations!
Here are reviews from some of my most favorite crafters!
“If you are looking for some fun, quirky and colorful craft inspiration, this is the book for you. Fabulous for any budding crafter!” – Maggy Woodley, @redtedart
“I love how this book allows children to learn playfully while creating projects they can enjoy for years to come! – Michelle Nash, @7daysofplay
“Who can resist a cute and colorful kids’ craft book? The best part is the super easy set-up so kids can help themselves to creating on a whim. I love that behind each cute craft there are lesson on learning and STEM.” -Agnes Hsu, @hellowonderful
“A wonderful book full of colorful ideas for all your little crafters!” -Jess Chu, @learnandbloom
“Jacinta’s easy to follow instructions and use of simple materials make it effortless to get creative with my kids. It’s a wonderful way to connect as a family while teaching practical life skills.”- Myriam Sandler, @mothercould
We have been fascinated with watching, recording and predicting the weather lately. Here in Melbourne, Australia, the weather can be a little erratic. It’s summer at the moment which for us means that it might be a hot 40 degree (Celsius) day, or 14 degrees with wind and rain. And even though the weather is so unpredictable, I do love where we live. How is the weather where you live? Is it more predictable than Melbourne?
Scroll down to see some of our favorite weather activities and to download a free weather chart and some other FREE fun worksheets.
Advertisements
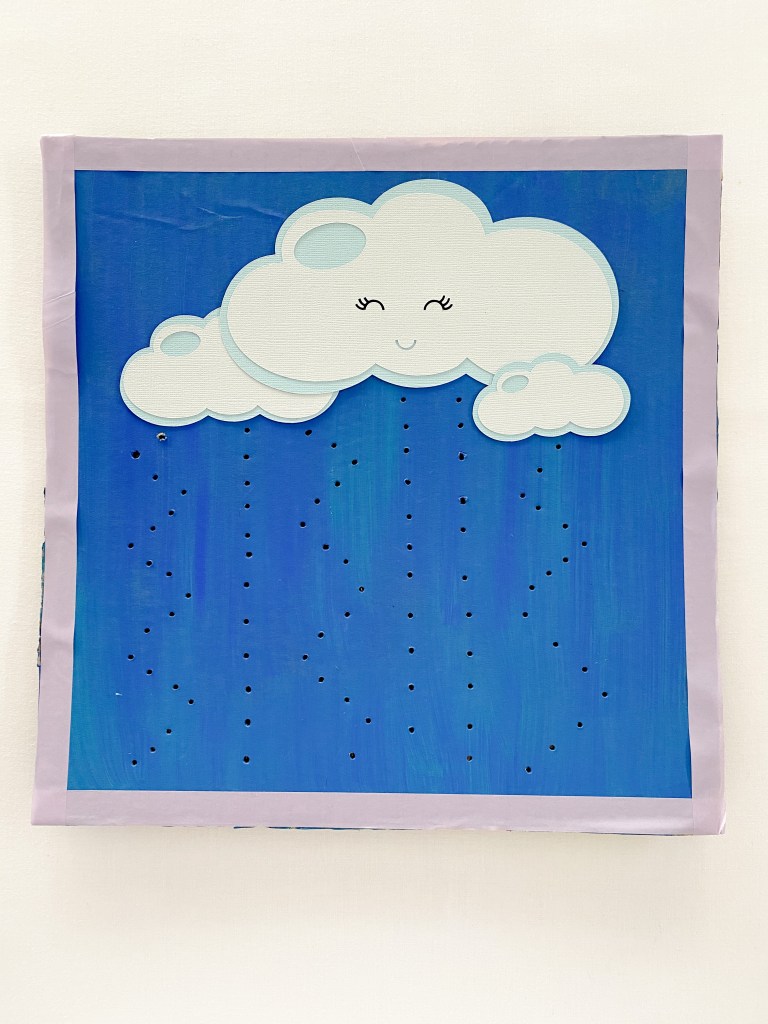
The first activity I want to share is this fun fine motor lacing board. It is made from a piece of recycled cardboard, so its super inexpensive to make. And once you have made the board, you will be able to use it over and over again.
Advertisements
What you will need:
A piece of recycled cardboard
Blue paint
Paint brush
White paper
Scissors
Glue stick
Bamboo skewer
White yarn
Plastic needle
Advertisements
What you will need to do:
1. Cut your piece of cardboard to size. You can cut your piece of card any size that you like. The board that I made is approximately 30 x 30 cm. Next, I painted the board blue using acrylic paint and allowed the paint to dry completely. Once the paint was dry I pasted down a cloud shape onto the cardboard using a glue stick. I then used a bamboo skewer to make holes in the cardboard.
WARNING! bamboo skewers are sharp. It is a good idea for adults to make the holes in the card using the skewer.
Advertisements
2. Thread some yarn onto a plastic needle and stich some rain falling. You might like to stitch straight lines, or increase the hand eye coordination required and sew some zig zag lines. It is totally up to you how you play.
Advertisements
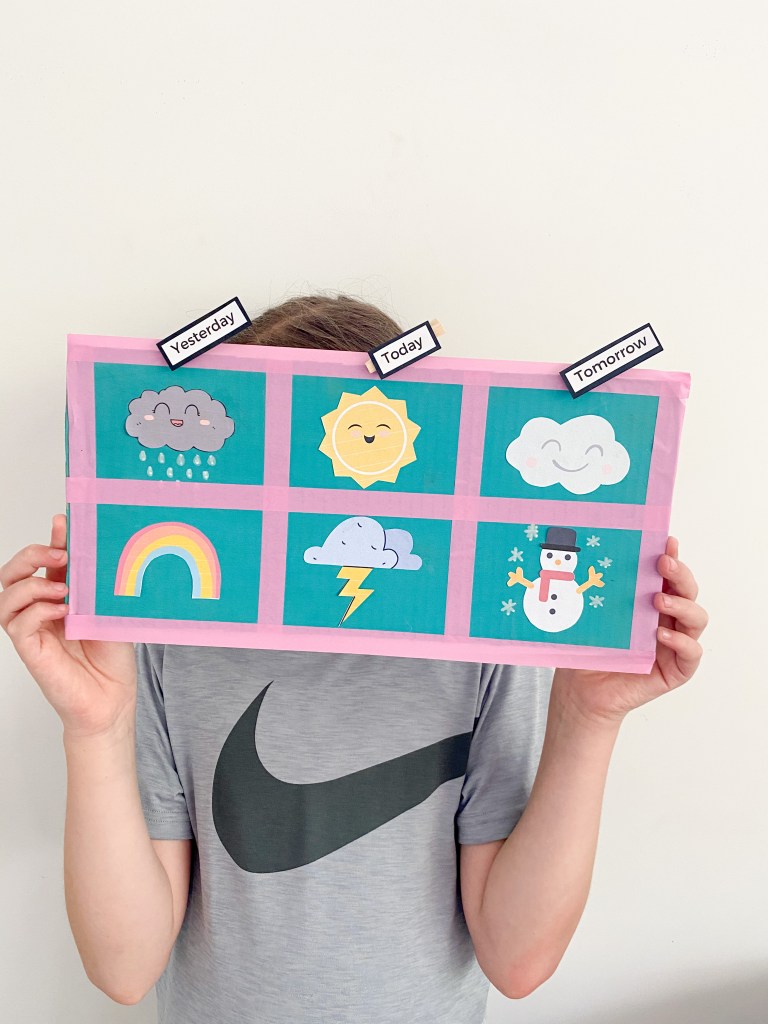
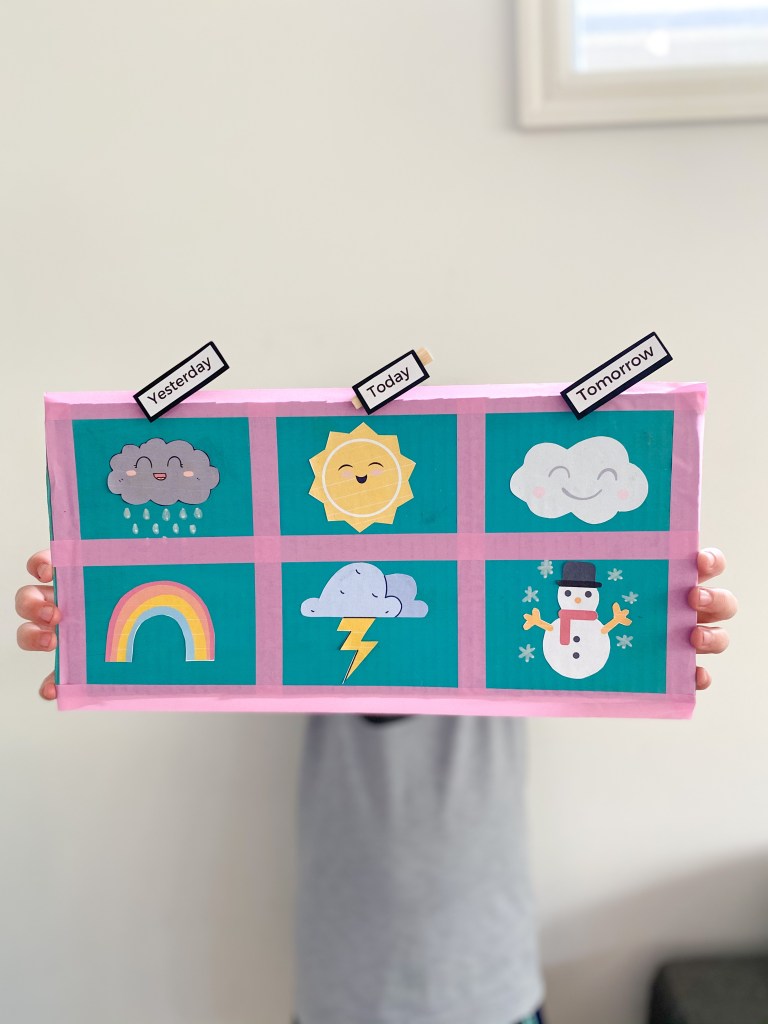
The second activity that I want to share with you is this super easy to make weather chart. To make one like ours, I simply painted a piece of recycled cardboard with acrylic paint and then pasted weather icons onto the cardboard. We then used a peg to mark the day that we recorded the weather.
This is what you will need:
A piece of recycled cardboard
Washi tape
Scissors
A printed copy of my free weather printables
Glue stick
Pegs
Advertisements
This is what you will need to do:
1. Cut a piece of recycled cardboard to size. There is no set size that your card should be. For reference, our piece of cardboard is approximately 30cm long and 20cm wide.
2. I then painted the cardboard with blue acrylic paint and allowed the paint to dry completely.
3. When the paint was dry, I divided the cardboard into six sections using washi tape.
4. Then I simply printed out weather icons and pasted them onto the cardboard. You will find the FREE printables below.
5. Finally, I labelled some small pegs with the words today, yesterday and tomorrow. I printed these labels, but you could very easily write the words on the pegs.
Advertisements
You will find your FREE weather chart printable here: