Q-tip Painting for Kids

Q-tip painting is a favorite activity of ours! It is relatively mess-free and is perfect for developing fine motor skills. This activity is the best way for kids, preschoolers and toddlers to practice shape, number and letter recognition. Best of all, it’s lots of fun!

Scroll down for your FREE printable shape, letter and number printable worksheets.

Advertisements

This is what you will need:

Paint (I recommend washable kid paint!)

Q-tips

Free printable templates – scroll down and you will easily find these

Advertisements

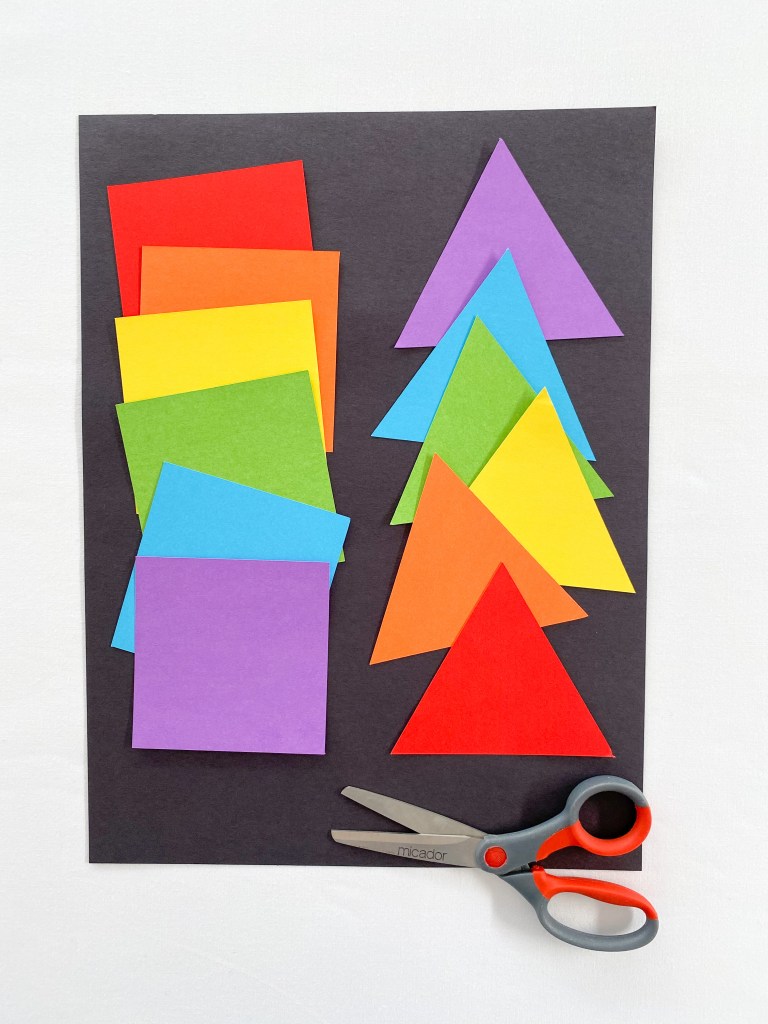
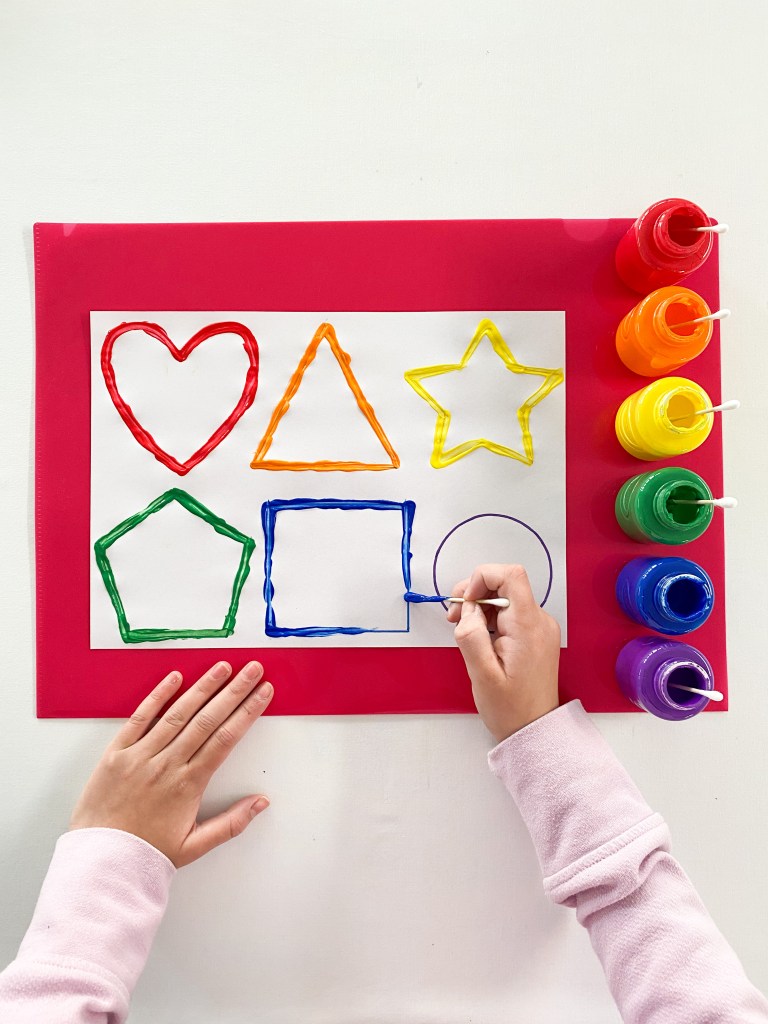
Shape Recognition and Tracing for Kids

1. Prepare your shape template. You can print my FREE printable worksheet here, or draw up your own.

Advertisements

2. Dip the Q-tips into paint and then use them as paint brushes to trace or dot along each shape.

Advertisements

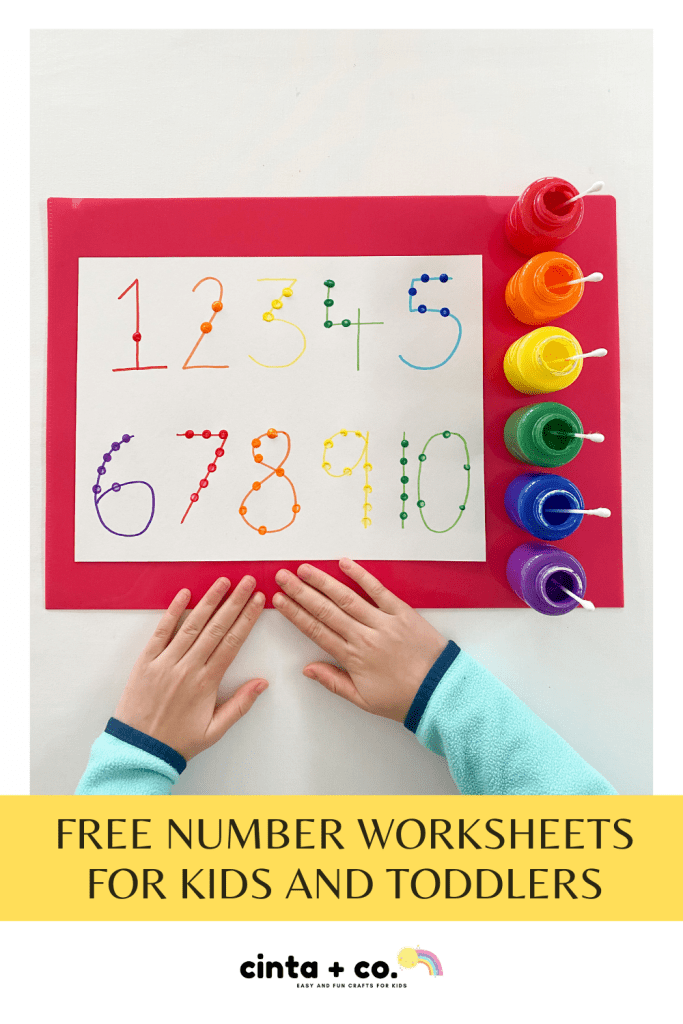
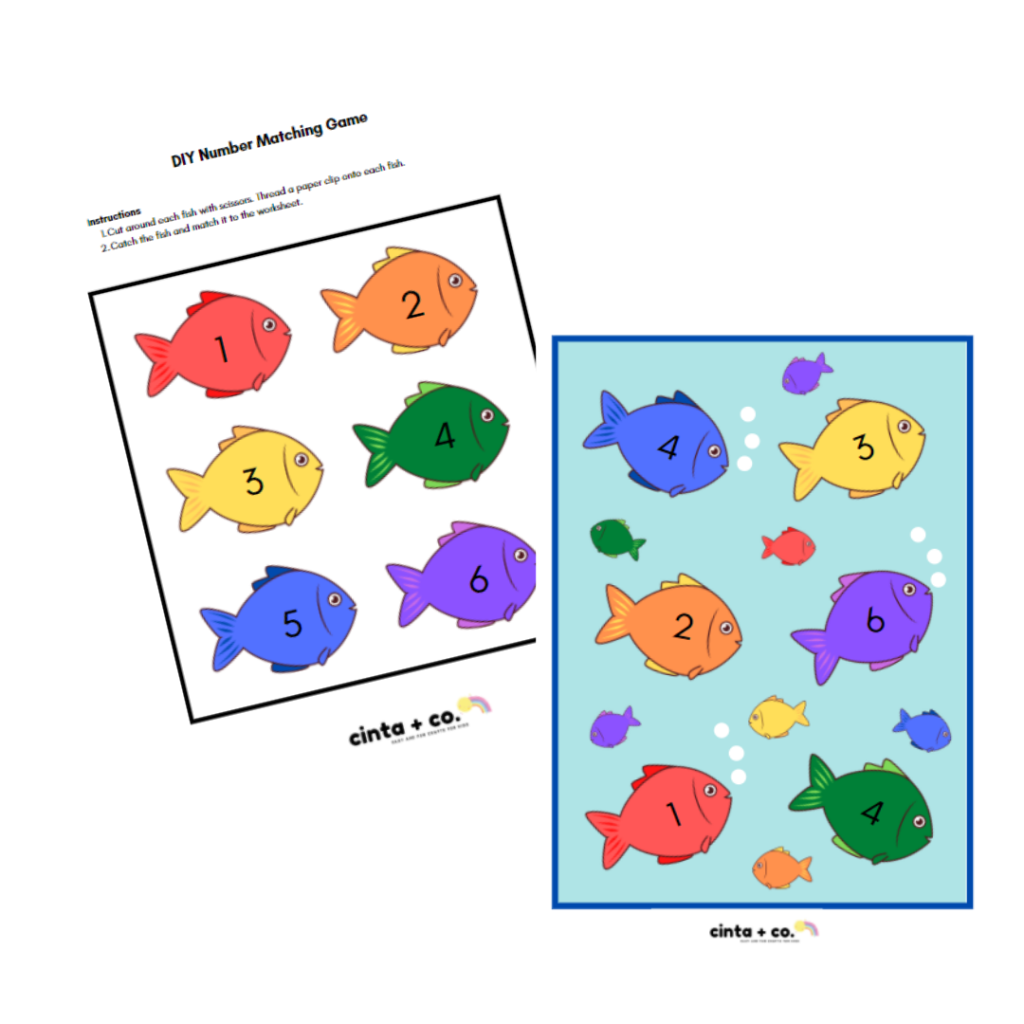
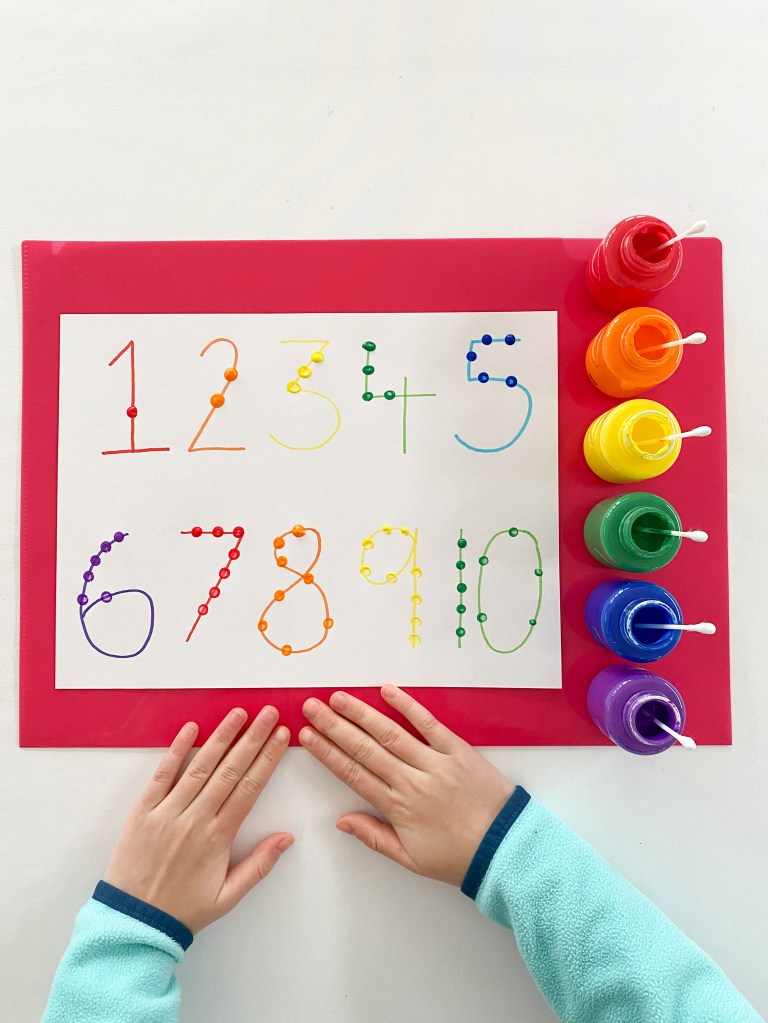
Number Recognition and Tracing for Kids

1. Prepare your number template. You can print my FREE printable worksheet here, or draw up your own.

Advertisements

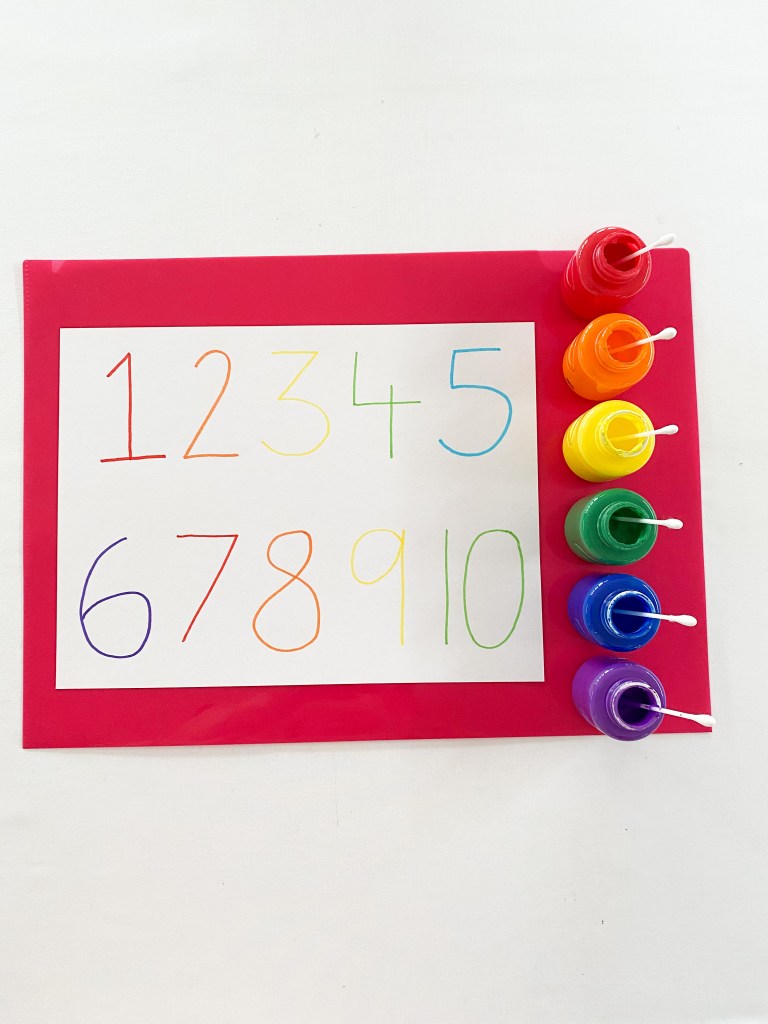
2. Dip the Q-tips into paint and then use them as paint brushes to trace or dot along each number.

Advertisements

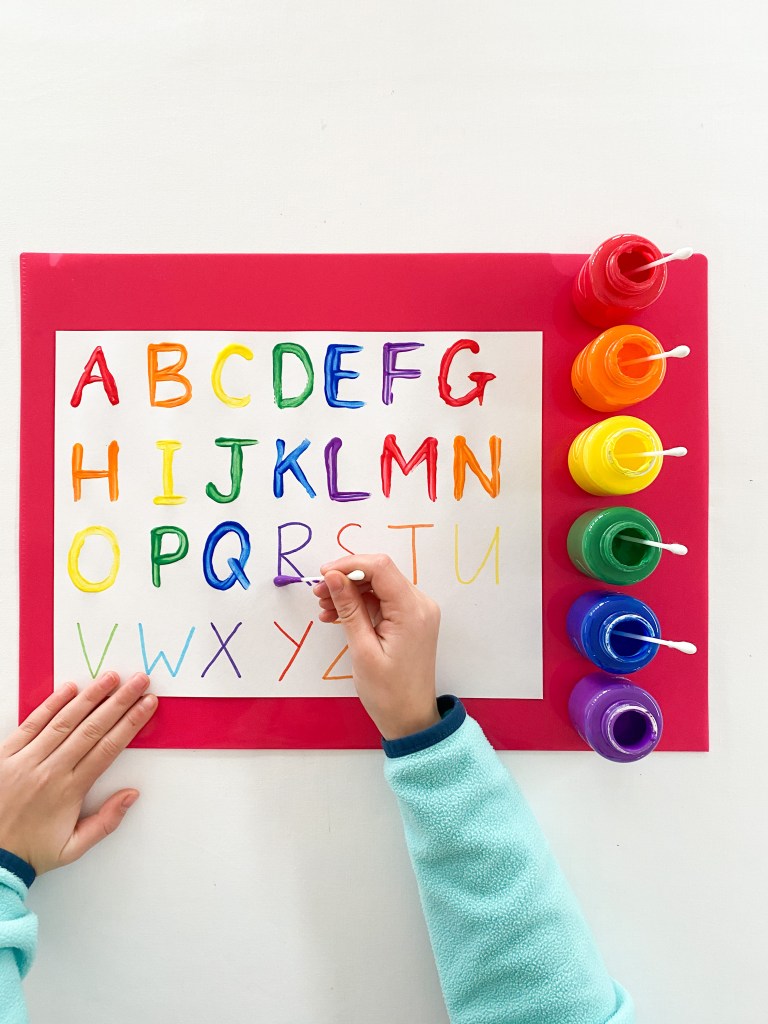
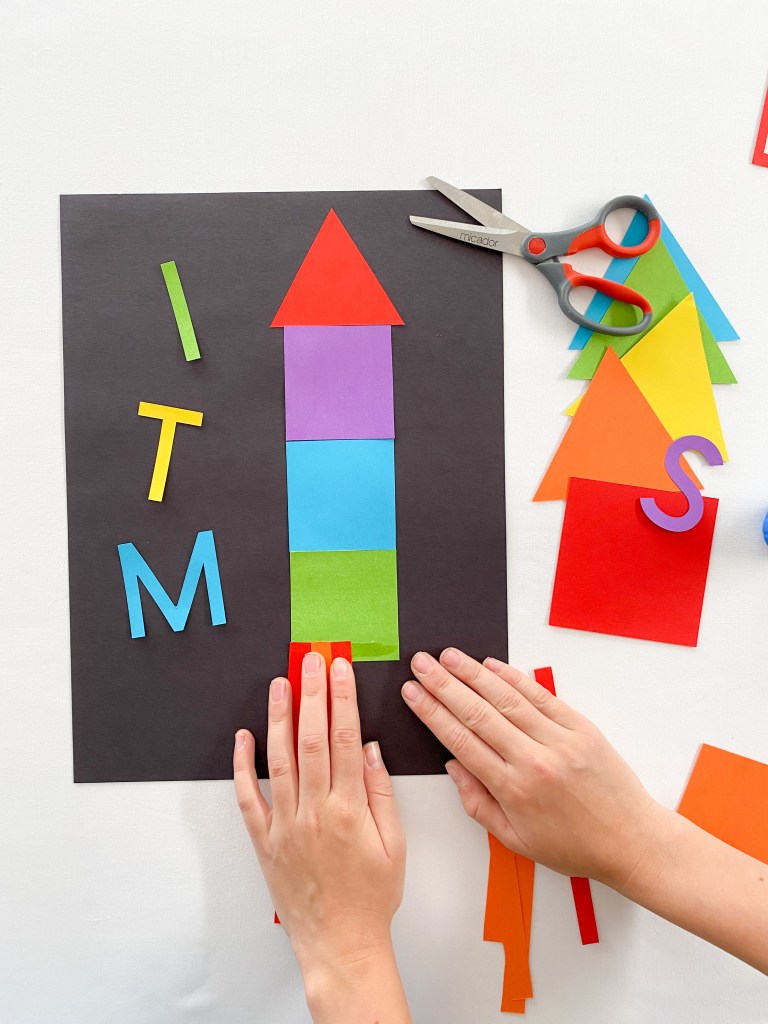
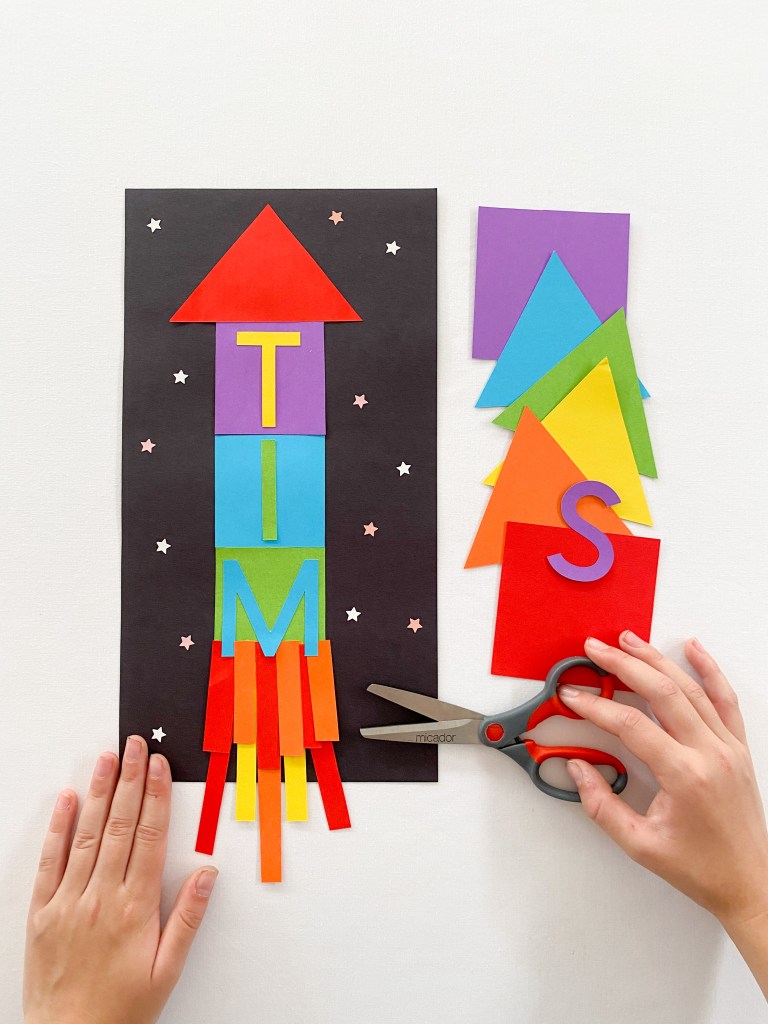
Letter Recognition and Tracing for Kids

1. Prepare your letter template. You can print my FREE printable worksheet here, or draw up your own.

Advertisements

2. Dip the Q-tips into the paint and then use them to trace or dot along each letter.

Advertisements
Advertisements
Advertisements
Advertisements
Advertisement

DIY Fishing Game for Kids

DIY fishing games are a wonderful way for children to build and explore many developmental skills including fine motor skills, motor strength, hand eye coordination, problem solving and even some early math and literacy skills.

This DIY fishing game is the easiest to put together and lots of fun to play. And if you don’t have time to make your own game from scratch, scroll down to the end of this article for a FREE printable version.

Advertisements

What you will need:

Empty cardboard box (a cereal box would be perfect)

Colored paper

Tissue paper confetti (optional)

Scissors

Marker pen

Paper clips

Magnetic wand or toy fishing rod.

!WARNING! I do not recommend using small magnets in this activity. Small magnets are not to be ingested and parents should always carefully observe their children when playing with small parts – especially magnets.

Advertisements

What you will need to do:

1. Very carefully cut the front away from the cereal box with scissors. This can be a little tricky, so you may need to ask an adult to help you with this. You might also need to secure the corners of the box with sticky tape to prevent it from falling apart. Once your box is ready, line the surface of the box with blue paper so that it looks like water.

Advertisements

2. Using your scissors, very carefully cut out some fish shapes. You can do this by eye or if you have a paper cutter, like a Cricut, you may like to use that! Place the fish into your box.

Advertisements

3. If you would like to practice some early numeracy skills, you might like to add a number to each fish. You can collage the number with paper or simply write it out with pencil. You might also like to add some tissue paper to the box for some extra detail.

Advertisements

4. Next, carefully thread a paper clip onto each of the fish. Remember that paper clips are small and an adult should always watch small children closely when using.

Advertisements

5. Grab a magnetic wand or toy fishing rod that you may have at home and catch the fish!

Advertisements

Here is the FREE color match printable worksheet for you:

The worksheets looks like this –

Advertisements

Here is the FREE color match printable worksheet for you:

The worksheets looks like this –

Advertisements
Advertisements

Easy Space Scissor Skills For Kids

This rocket scissor skill activity is such a classic! It’s perfect for developing scissor skills, letter recognition and early literacy for preschoolers and toddlers. This activity is also super simple to set up and only requires easily accessible materials. The finished product also looks great as a piece of art to decorate your walls at home.

I first published this activity on my Instagram a couple of years ago. I actually like the original picture that I posted best. Here is the post.

Advertisements

Scroll down to find some great FREE space scissor skill printable worksheets.

Advertisements

This is what you will need:

Colored construction paper

Scissors

Black construction paper

Gluestick

Black marker pen

Advertisements

This is what you will need to do:

1. Using your scissors, carefully cut square and triangle shapes from your construction paper.

Advertisements

2. Paste the shapes onto a piece of black paper. Start by pasting a triangle shaped nose cone at the top of your page and then squares for each letter of your name.

Advertisements

3. Use your scissors to cut some long strips of paper and paste these down as the rocket flames.

Advertisements

4. Write the letters of your name on each square. You will need a square for each letter of your name.

Advertisements

Thank you so much for reading. Scroll down for some fun FREE printable worksheets. Enjoy, Jacinta Xx

Advertisements

The Best Process Art for Kids

I just love this super easy and simple process art project for kids. The resulting art piece is bright and colorful, and the process itself is virtually mess-free. Best of all, you will only need four simple materials, and you can use either paper or plastic drinking straws – whatever you might already have at home. This project is so much fun that adults will want to join in too!

Advertisements

This is what you will need:

Recycled cardboard

Scissors

Clear sticky contact

Drinking straws

Advertisements

This is what you will need to do:

1. Cut a frame shape from a piece of recycled cardboard. I painted my frame with black acrylic paint, but this is completely optional. Feel free to either paint yours or leave it plain.

Advertisements

2. Stick a piece of clear contact to the frame, making sure that the sticky side is facing up.

Advertisements

3. Using scissors, very carefully snip the straws into different lengths.

Advertisements

4. Next is the fun part! Start pressing the straw pieces onto the clear contact. Press them down in all different directions and angles. Be as creative as you like!

Advertisements
Advertisements

5. Keep pressing the pieces of straw down until you have filled your entire sticky contact canvas. You may have to trim down some small pieces to fit into the really tiny spaces.

Advertisements

I really hope that you have fun with this amazing process art project! It is such fun for kids of all ages – and adults too! Enjoy. Jacinta Xx

Advertisements