I just love this super easy and simple process art project for kids. The resulting art piece is bright and colorful, and the process itself is virtually mess-free. Best of all, you will only need four simple materials, and you can use either paper or plastic drinking straws – whatever you might already have at home. This project is so much fun that adults will want to join in too!
Advertisements
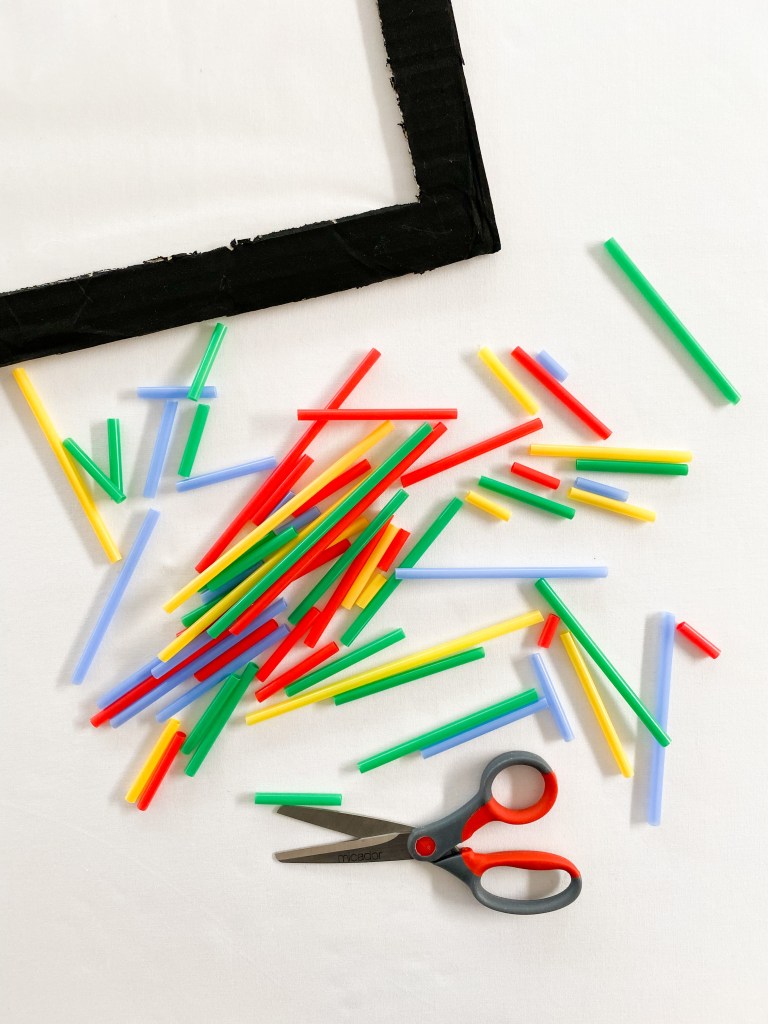
This is what you will need:
Recycled cardboard
Scissors
Clear sticky contact
Drinking straws
Advertisements
This is what you will need to do:
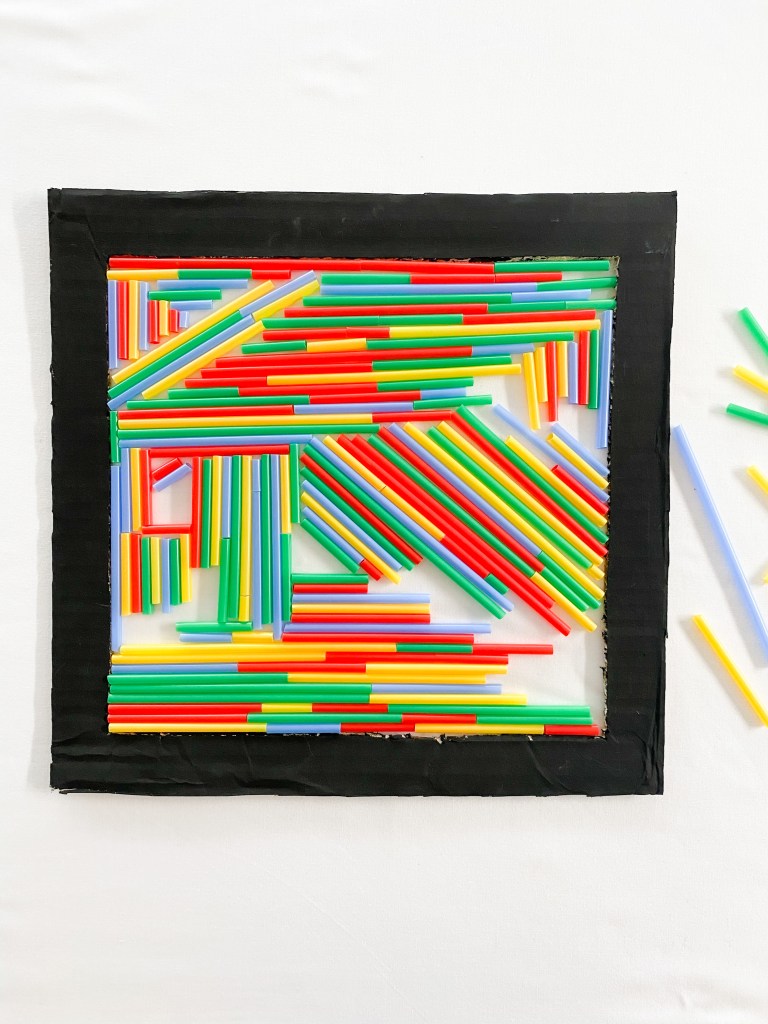
1. Cut a frame shape from a piece of recycled cardboard. I painted my frame with black acrylic paint, but this is completely optional. Feel free to either paint yours or leave it plain.
Advertisements
2. Stick a piece of clear contact to the frame, making sure that the sticky side is facing up.
Advertisements
3. Using scissors, very carefully snip the straws into different lengths.
Advertisements
4. Next is the fun part! Start pressing the straw pieces onto the clear contact. Press them down in all different directions and angles. Be as creative as you like!
Advertisements
Advertisements
5. Keep pressing the pieces of straw down until you have filled your entire sticky contact canvas. You may have to trim down some small pieces to fit into the really tiny spaces.
Advertisements
I really hope that you have fun with this amazing process art project! It is such fun for kids of all ages – and adults too! Enjoy. Jacinta Xx
We have been fascinated with watching, recording and predicting the weather lately. Here in Melbourne, Australia, the weather can be a little erratic. It’s summer at the moment which for us means that it might be a hot 40 degree (Celsius) day, or 14 degrees with wind and rain. And even though the weather is so unpredictable, I do love where we live. How is the weather where you live? Is it more predictable than Melbourne?
Scroll down to see some of our favorite weather activities and to download a free weather chart and some other FREE fun worksheets.
Advertisements
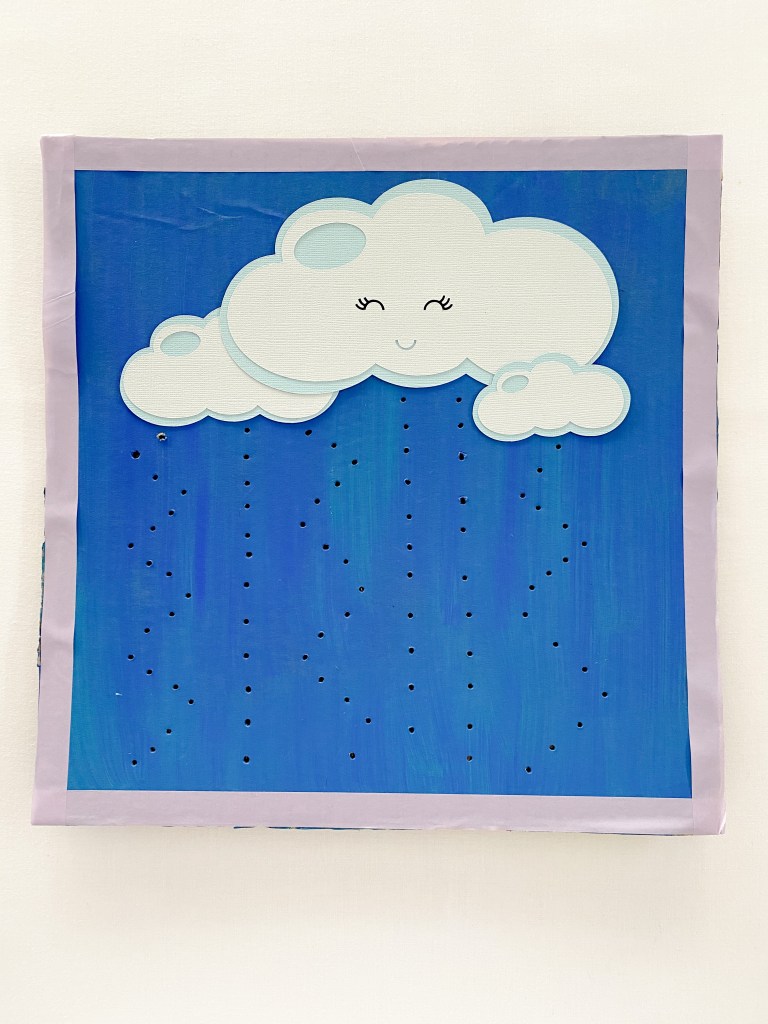
The first activity I want to share is this fun fine motor lacing board. It is made from a piece of recycled cardboard, so its super inexpensive to make. And once you have made the board, you will be able to use it over and over again.
Advertisements
What you will need:
A piece of recycled cardboard
Blue paint
Paint brush
White paper
Scissors
Glue stick
Bamboo skewer
White yarn
Plastic needle
Advertisements
What you will need to do:
1. Cut your piece of cardboard to size. You can cut your piece of card any size that you like. The board that I made is approximately 30 x 30 cm. Next, I painted the board blue using acrylic paint and allowed the paint to dry completely. Once the paint was dry I pasted down a cloud shape onto the cardboard using a glue stick. I then used a bamboo skewer to make holes in the cardboard.
WARNING! bamboo skewers are sharp. It is a good idea for adults to make the holes in the card using the skewer.
Advertisements
2. Thread some yarn onto a plastic needle and stich some rain falling. You might like to stitch straight lines, or increase the hand eye coordination required and sew some zig zag lines. It is totally up to you how you play.
Advertisements
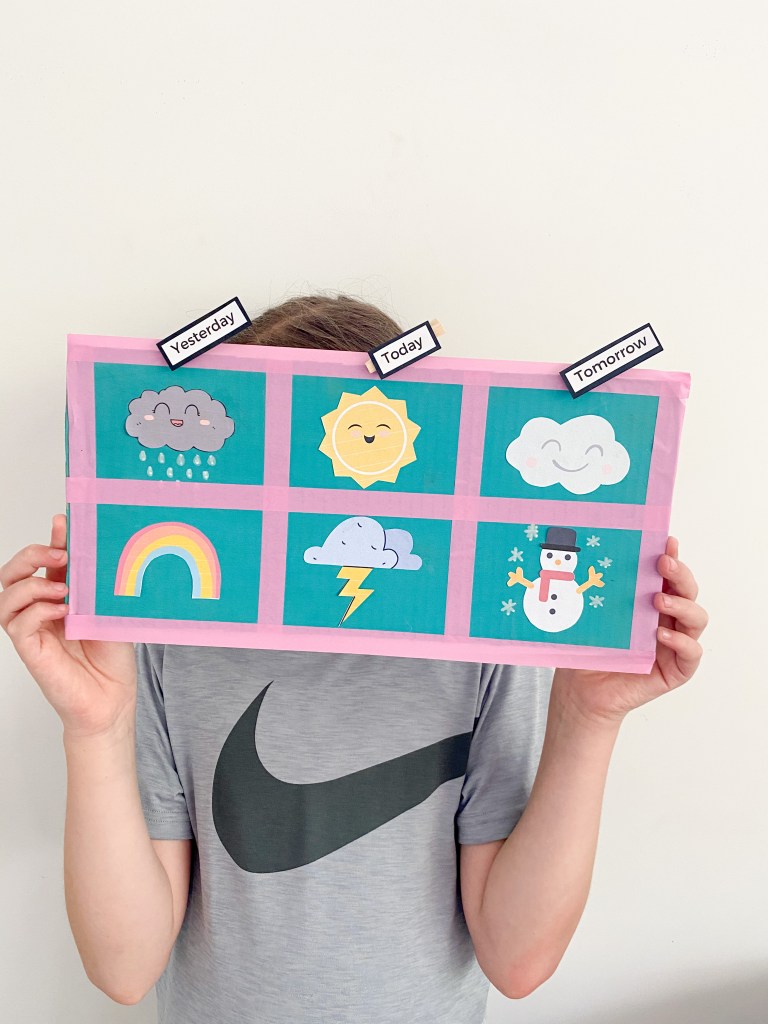
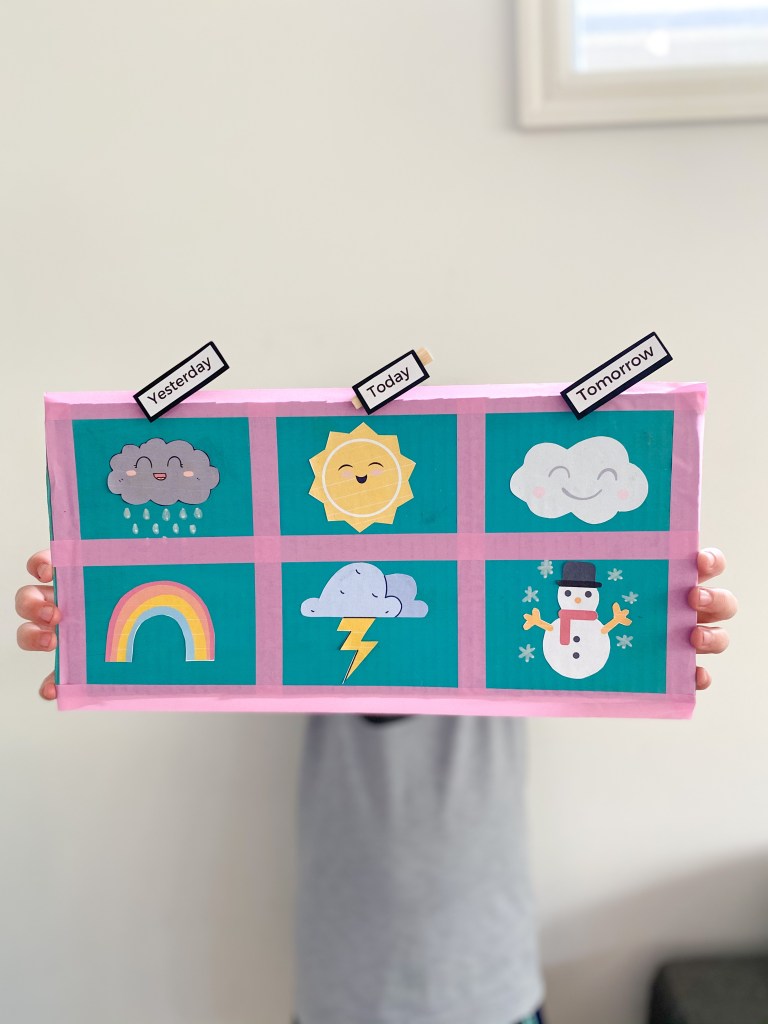
The second activity that I want to share with you is this super easy to make weather chart. To make one like ours, I simply painted a piece of recycled cardboard with acrylic paint and then pasted weather icons onto the cardboard. We then used a peg to mark the day that we recorded the weather.
This is what you will need:
A piece of recycled cardboard
Washi tape
Scissors
A printed copy of my free weather printables
Glue stick
Pegs
Advertisements
This is what you will need to do:
1. Cut a piece of recycled cardboard to size. There is no set size that your card should be. For reference, our piece of cardboard is approximately 30cm long and 20cm wide.
2. I then painted the cardboard with blue acrylic paint and allowed the paint to dry completely.
3. When the paint was dry, I divided the cardboard into six sections using washi tape.
4. Then I simply printed out weather icons and pasted them onto the cardboard. You will find the FREE printables below.
5. Finally, I labelled some small pegs with the words today, yesterday and tomorrow. I printed these labels, but you could very easily write the words on the pegs.
Advertisements
You will find your FREE weather chart printable here: