The Easiest Kids Crafts Ever!

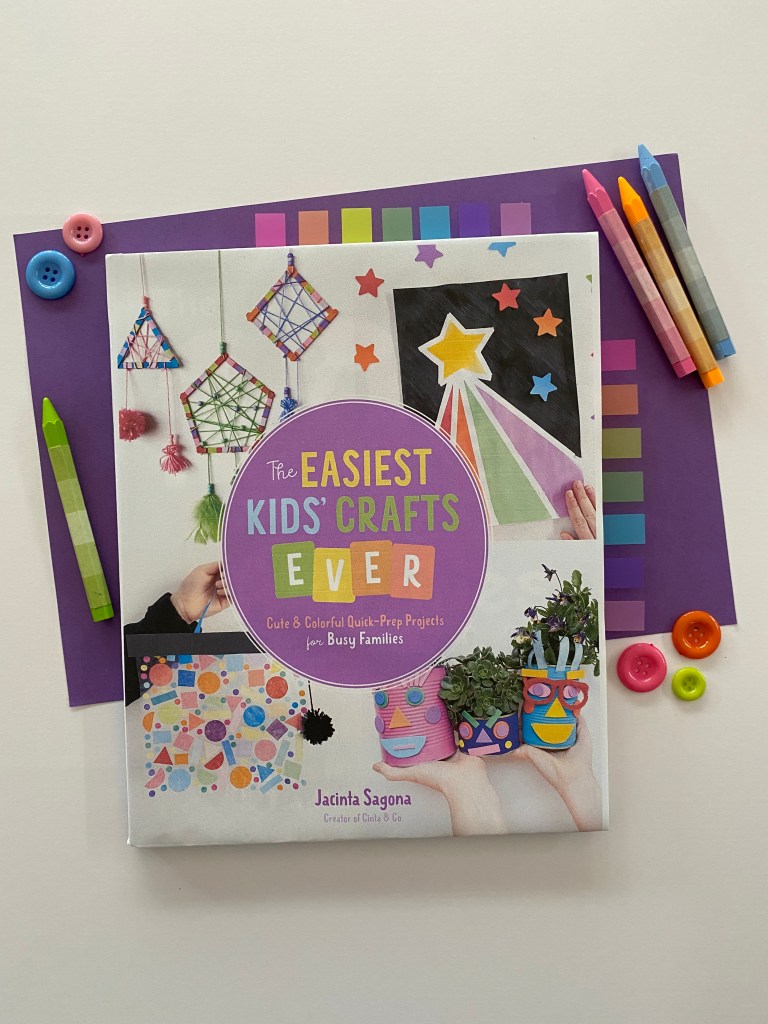
I am so excited to let you all know that my very first kids craft book is available for preorder! I am so proud of this book. It is bright and colorful, is filled with super fun crafts (with step-by-step instructions) and only requires easily accessible supplies. The colorful crafts are as cute as they are playful. And, while the kids enjoy making these delightful crafts, they will also be developing their fine motor skills, critical thinking, creativity and even STEAM understanding. This book compiles 60 new projects with step-by-step photos for hours of fun. I would LOVE to know what you think about it!

Here is the blurb:

Transform Everyday Materials into Effortless, Cute Crafts!

Turn your bin of ordinary crafting supplies into a day of happy, colorful fun! Jacinta Sagona’s 60 charming crafts use simple materials you already have at home in new ways to captivate your little ones’ imaginations for hours. These craft ideas will help children of all ages tap into their creative tendencies by encouraging experimentation, spontaneity and mindfulness.

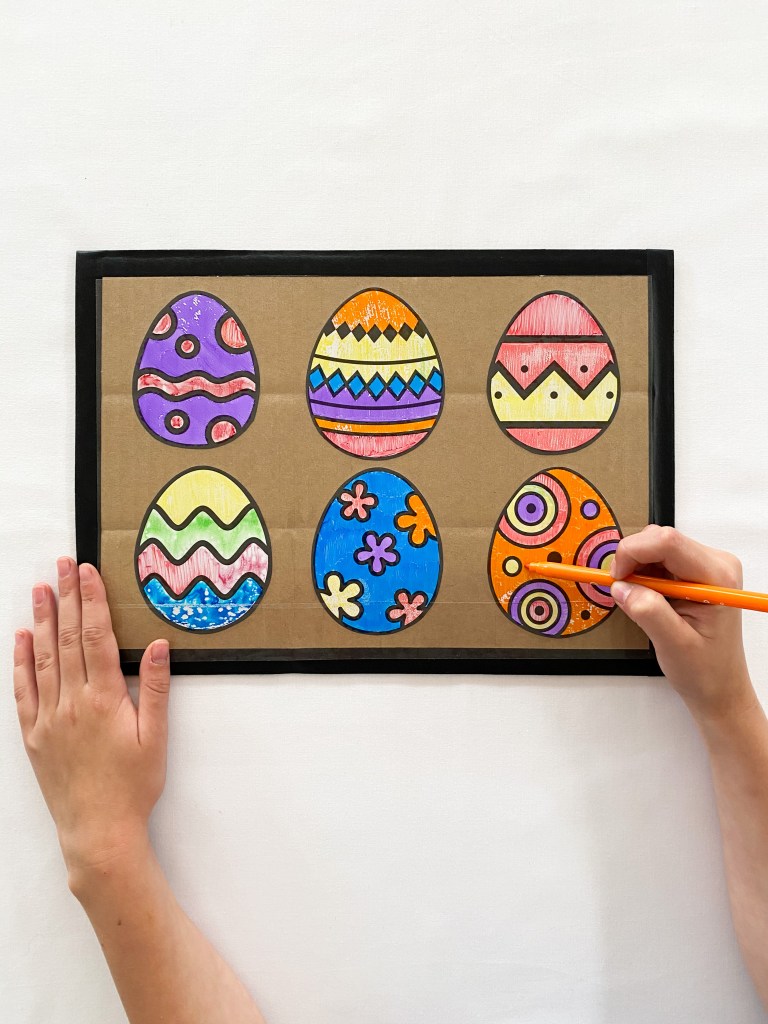
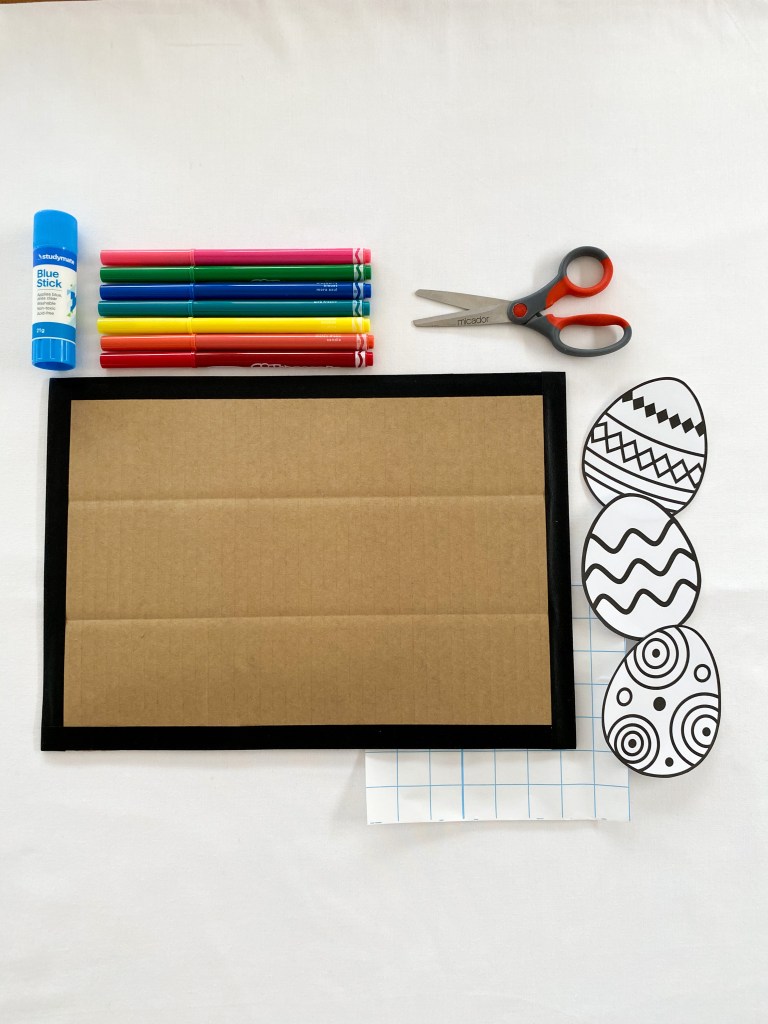
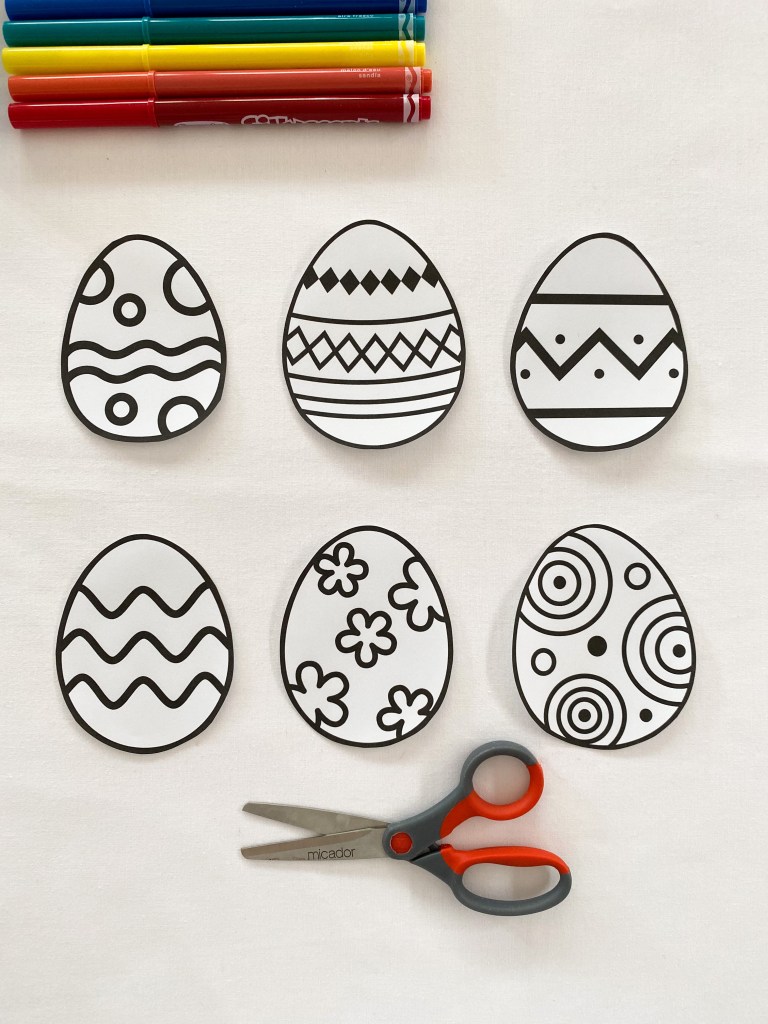
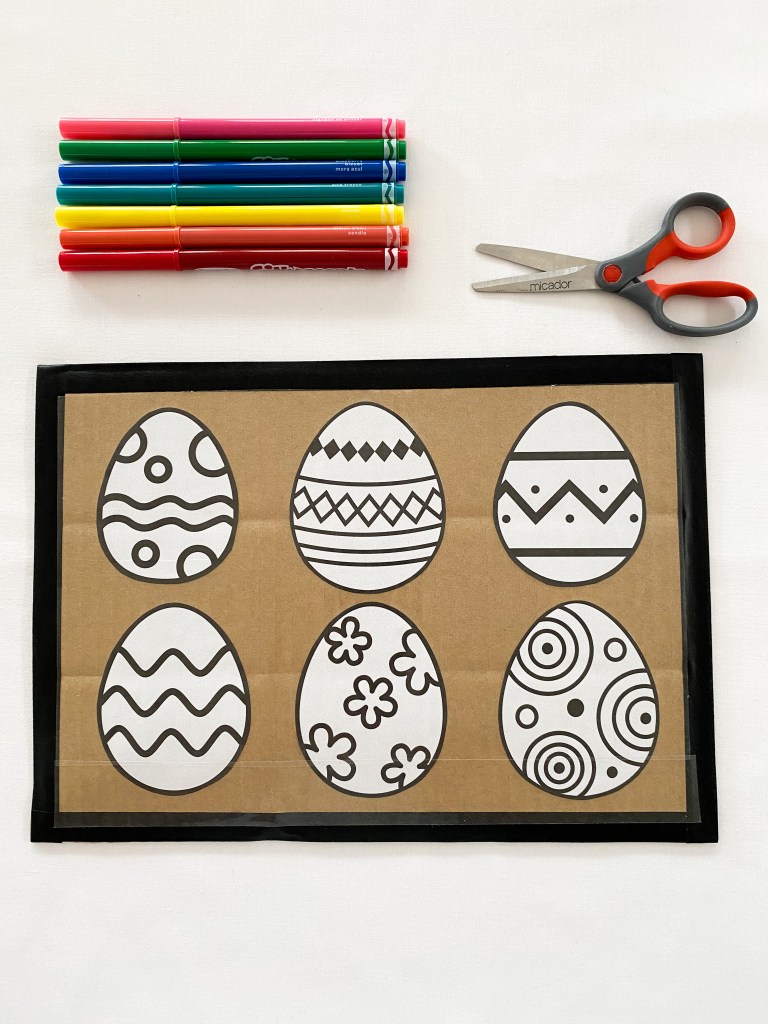
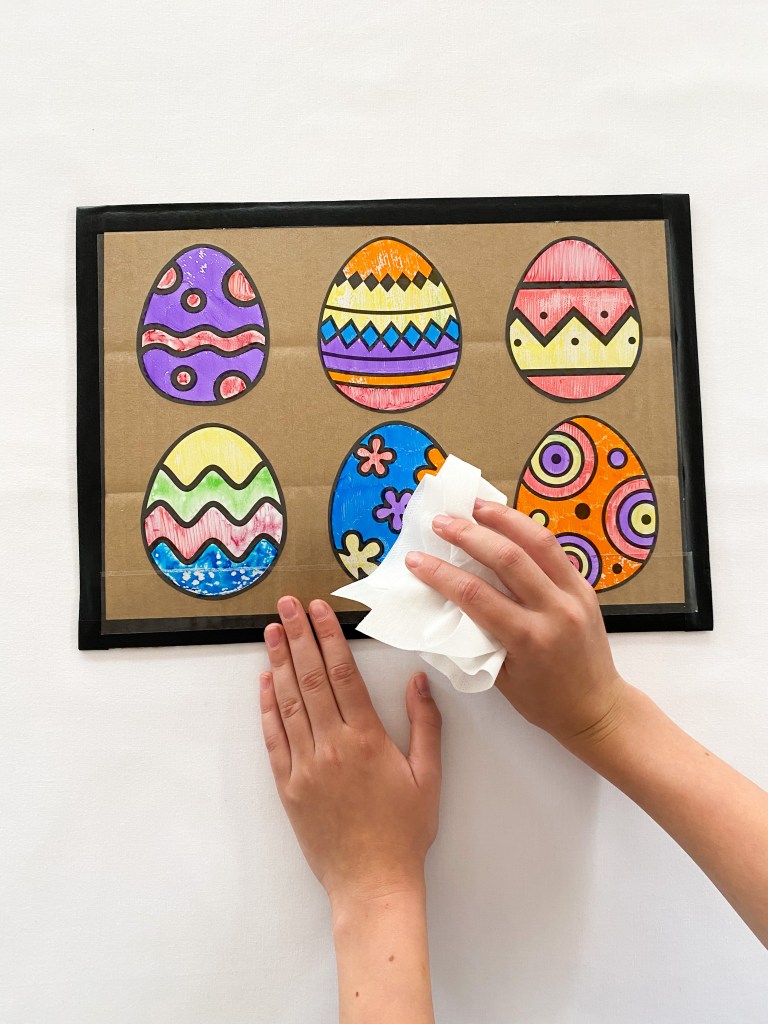
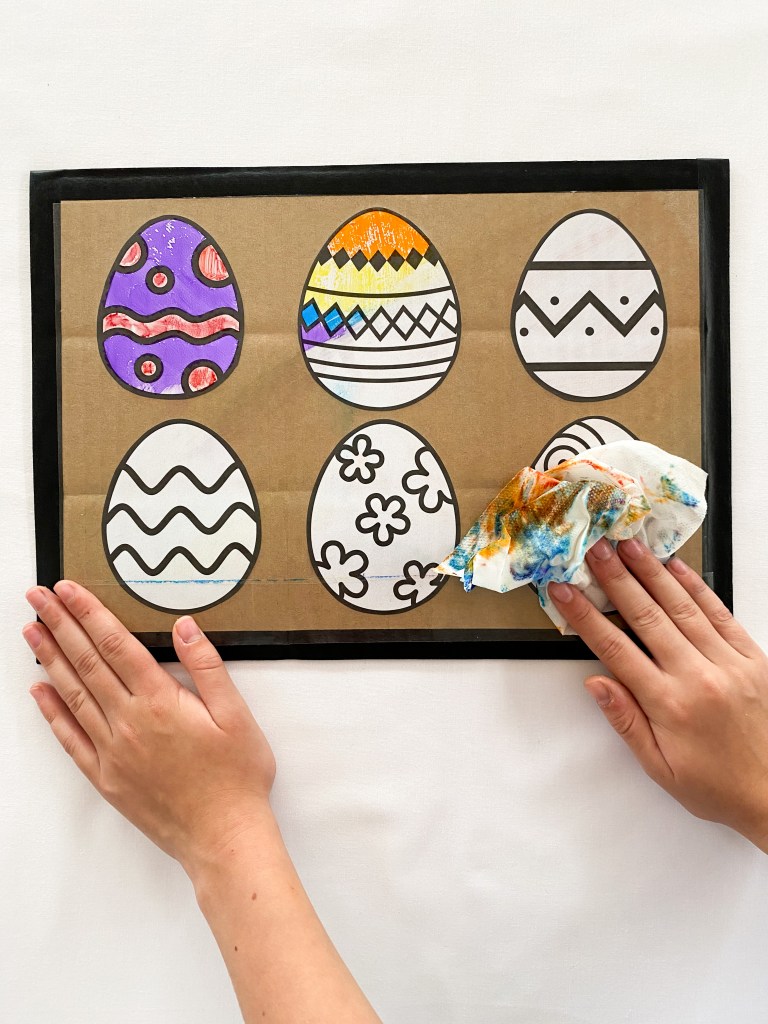
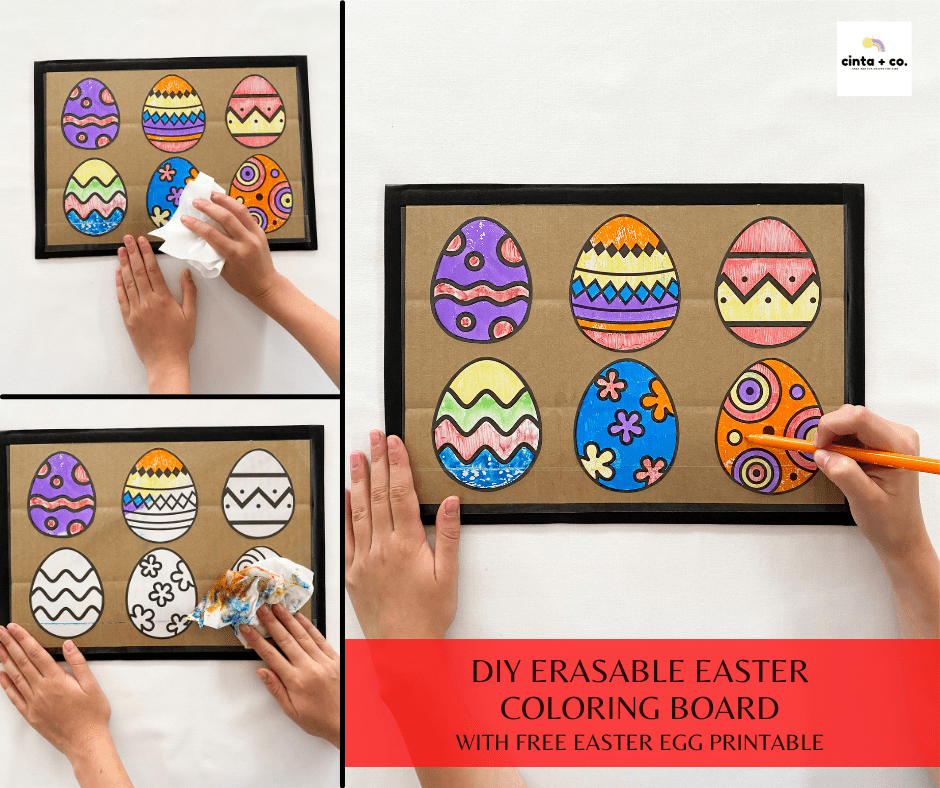
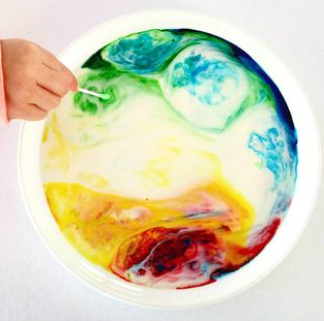
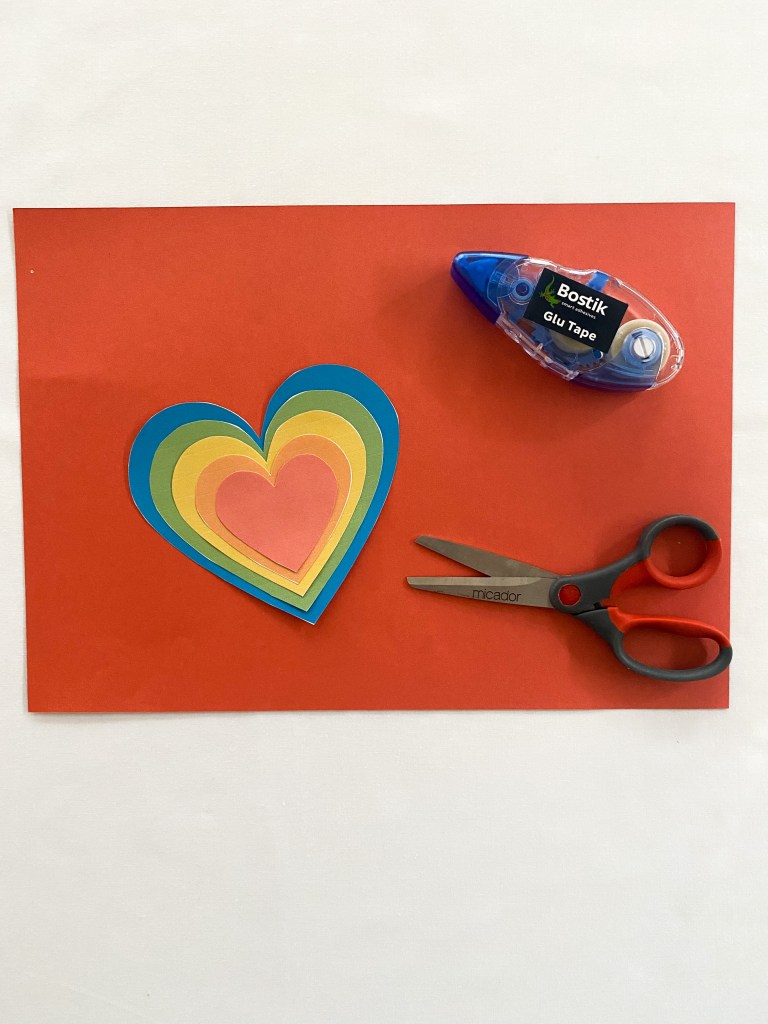
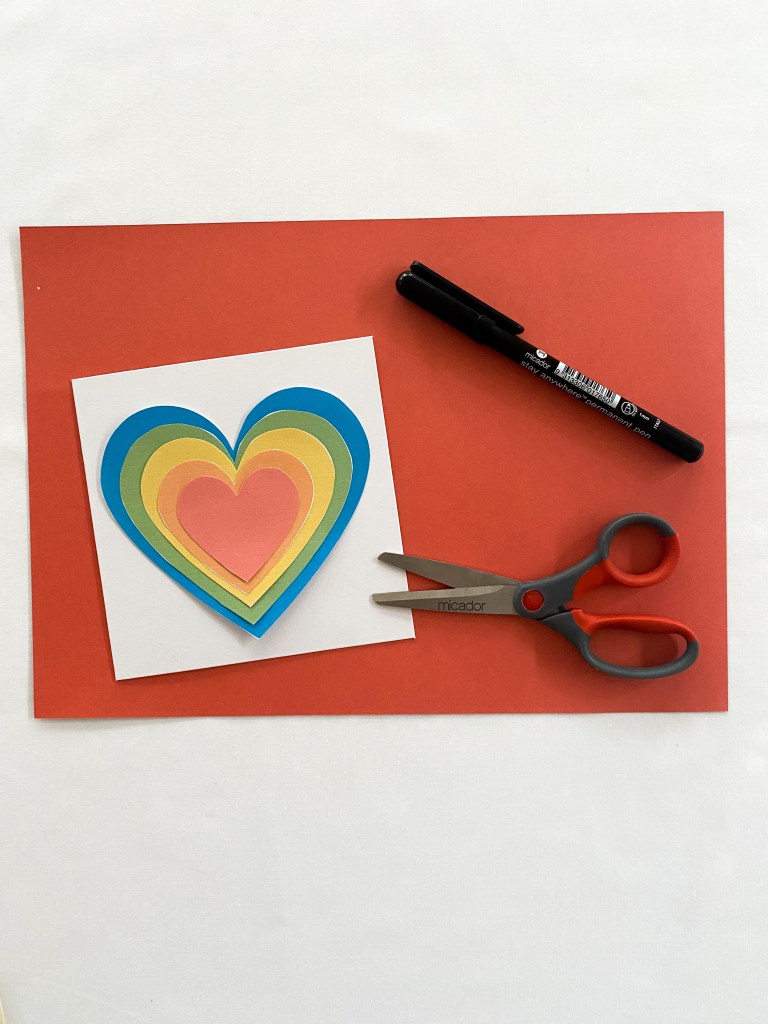
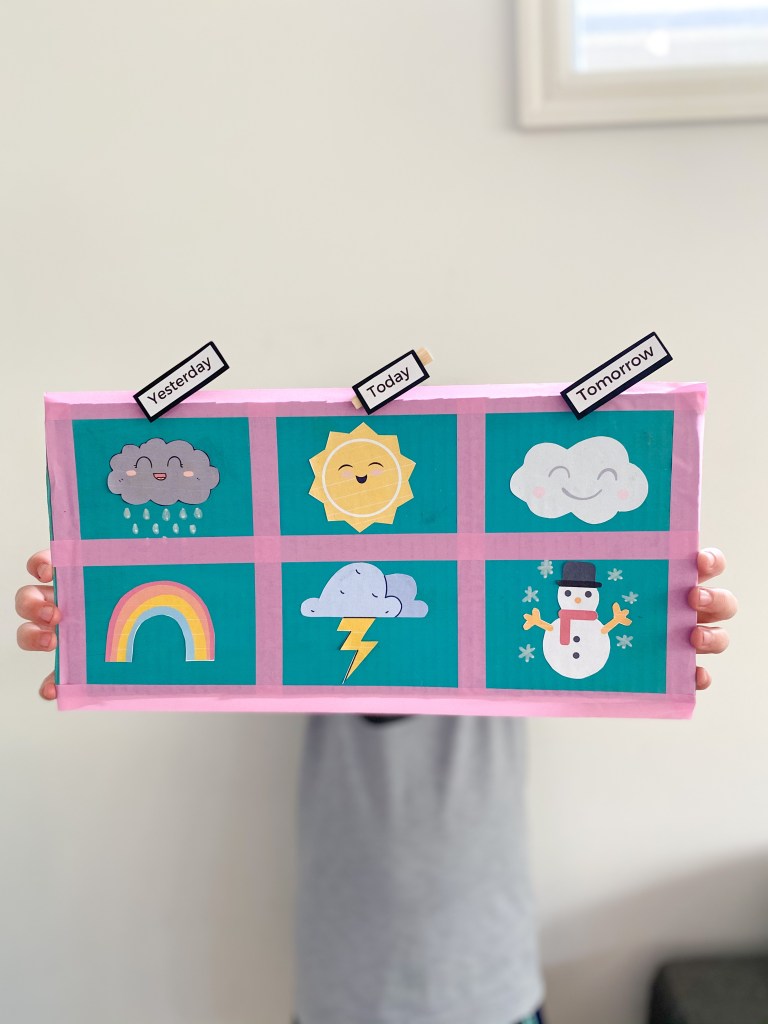
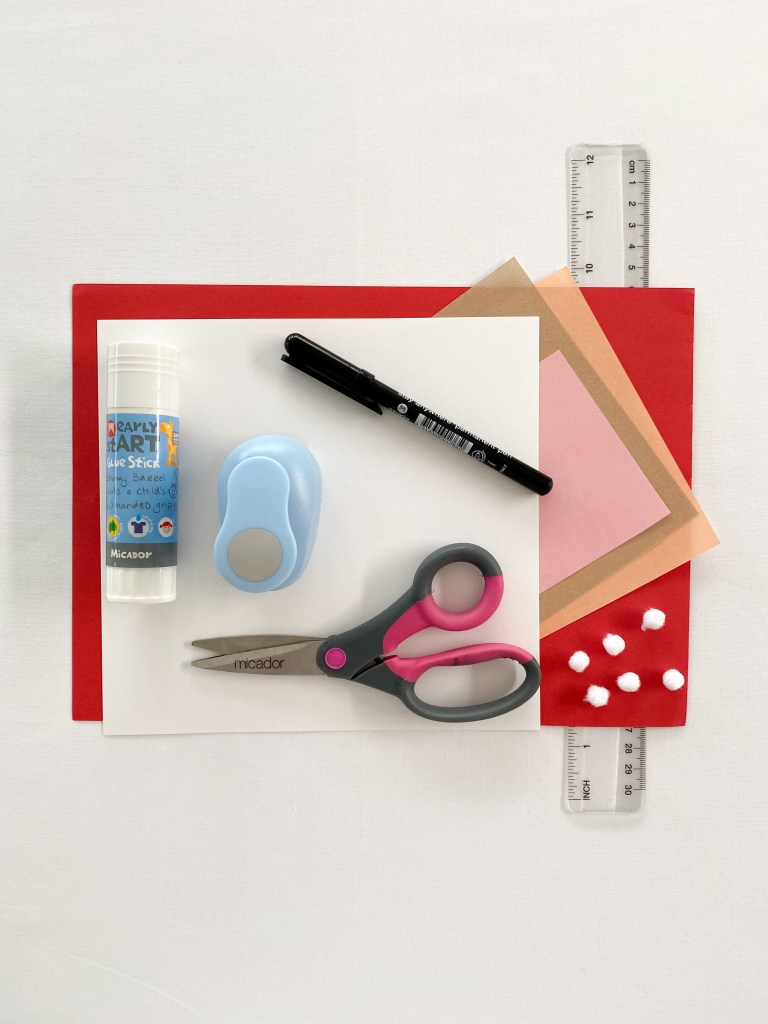
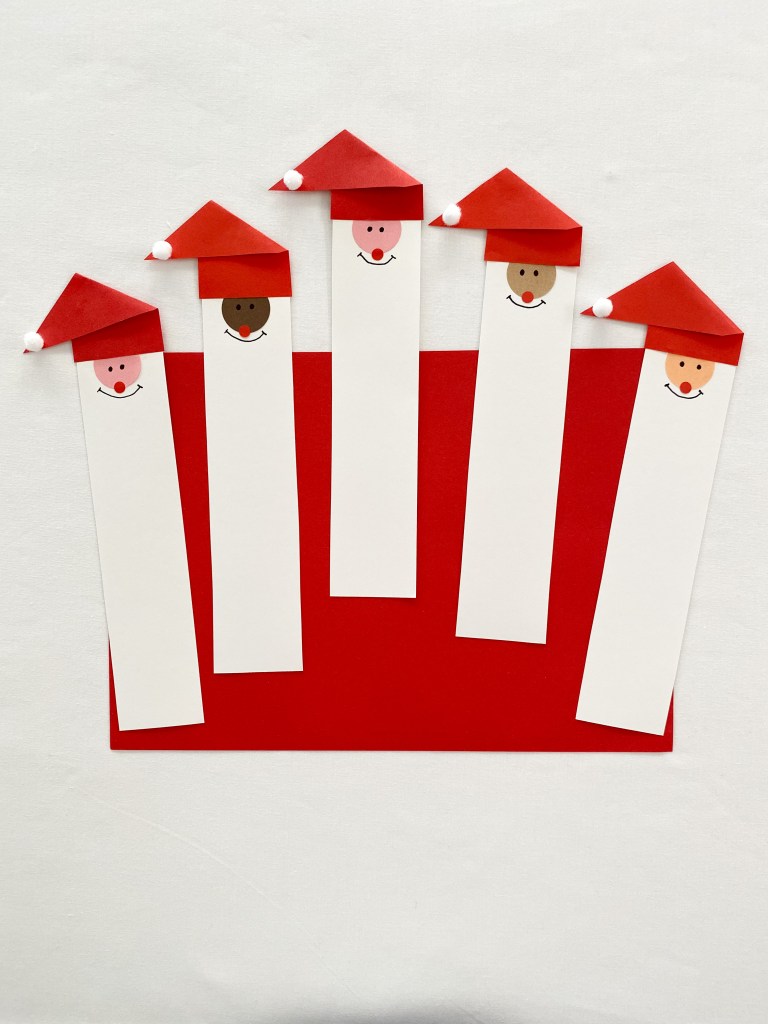
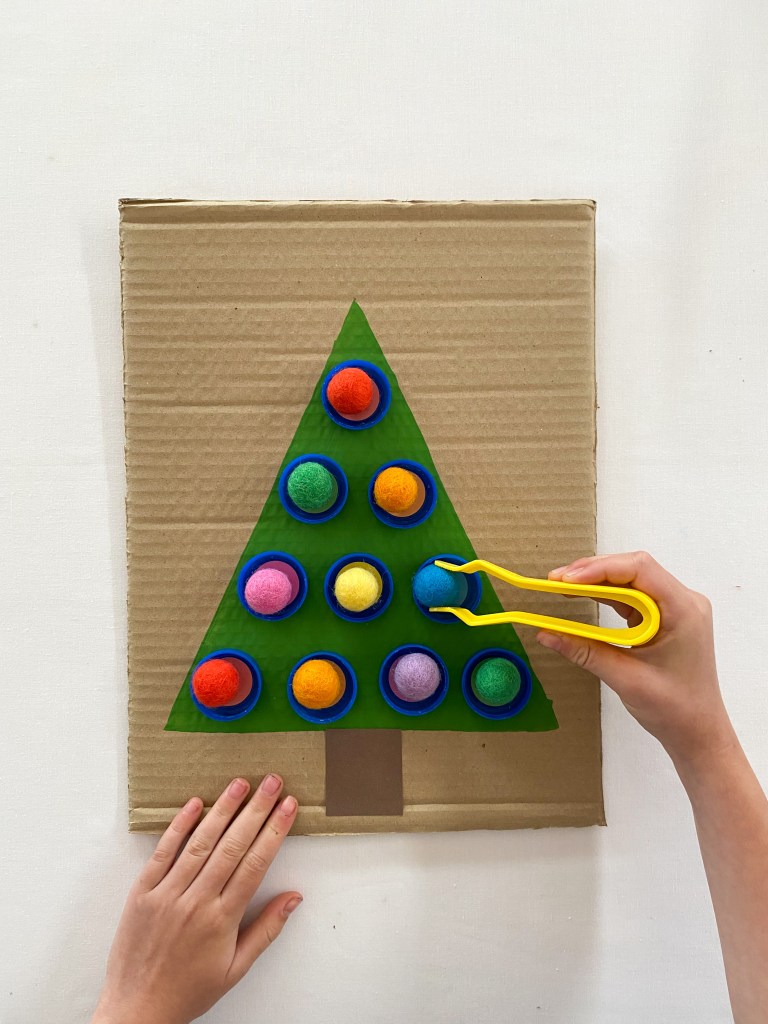
Your kids will love the helpful step-by-step photos and variety of projects, ranging from sweet animals and decorative wall hangings to handmade toys and games, and you will love how easy the projects are to set up (with minimal cleanup!). Let them put recycled cardboard and common craft paper to good use with unique crafts like a Paper Lantern Garden and a Pom-Pom Blowing Unicorn. Watch them delight in toys and painting activities like Stained-Glass Windows and a Musical Guitar. Introduce them to the practice of mindfulness with calming projects like Gratitude Mini-Piñatas, Guatemalan Worry Dolls and Yarn Hearts.

Perfect for parents, grandparents, teachers and babysitters, this book is a treasure trove of super simple ideas you can dive into anytime you are looking for an art project for the kids. You’ll love bonding with them and witnessing their budding imaginations!

And you can pre-order it here!

Amazon US

Amazon Canada

Barnes and Noble

https://www.barnesandnoble.com/w/the-easiest-kids-crafts-ever-jacinta-sagona/1137455955?ean=9781645672906

Indie Bound

https://www.indiebound.org/book/9781645672906

Book Depository

https://www.bookdepository.com/The-Easiest-Kids-Crafts-Ever-Jacinta-Sagona/9781645672906

Books A Million

https://www.booksamillion.com/p/Easiest-Kids-Crafts-Ever/Jacinta-Sagona/9781645672906?id=8127934435629

Bookshop

https://bookshop.org/books/the-easiest-kids-crafts-ever-cute-colorful-quick-prep-projects-for-busy-families/9781645672906

Amazon Australia

Booktopia

https://www.booktopia.com.au/the-easiest-kids-crafts-ever-jacinta-sagona/book/9781645672906.html

Here are reviews from some of my most favorite crafters!

“If you are looking for some fun, quirky and colorful craft inspiration, this is the book for you. Fabulous for any budding crafter!” – Maggy Woodley, @redtedart

“I love how this book allows children to learn playfully while creating projects they can enjoy for years to come! – Michelle Nash, @7daysofplay

“Who can resist a cute and colorful kids’ craft book? The best part is the super easy set-up so kids can help themselves to creating on a whim. I love that behind each cute craft there are lesson on learning and STEM.” -Agnes Hsu, @hellowonderful

“A wonderful book full of colorful ideas for all your little crafters!” -Jess Chu, @learnandbloom

“Jacinta’s easy to follow instructions and use of simple materials make it effortless to get creative with my kids. It’s a wonderful way to connect as a family while teaching practical life skills.”- Myriam Sandler, @mothercould

Advertisement

DIY Easter Erasable Coloring Board for Kids

Even though it is still over a month to Easter, I thought it would be fun to share a really super easy Easter egg craft with you. This one is a DIY erasable coloring board. These boards require minimal materials, are really easy to make and once made, can be used over and over again!

Advertisements

This is what you will need:

A copy of my FREE Easter egg coloring printable

A piece of recycled cardboard

Washi tape (optional)

Scissors

Glue stick

Clear sticky contact

Washable markers

Advertisements

This is what you will need to do:

1. Print a copy of my FREE Easter egg coloring page.

You will find the FREE printable here:

Advertisements

2. Using scissors carefully cut around the outline of each Easter egg.

!WARNING! Please remember that scissors are sharp. Always supervise children very carefully when they are using scissors.

Advertisements

3. Glue each egg onto a piece of recycled cardboard. Next, carefully stick down a layer of clear contact onto your cardboard. To finish, I decorated the edge of my cardboard with a strip of washi tape. This is totally optional though, you don’t have to add this tape.

Advertisements

4. Finally, take your washable colored marker pens and color the eggs!

Advertisements

5. When you have finished your coloring and want to pack up, simply take a wet wipe or a piece of paper towel and wipe your coloring away. Then you can color again and again.

Advertisements
Advertisements

Thank you so much for reading! I would love to see what you do with my printables, please tag me and let me know! Enjoy. Jacinta Xx

Advertisements
Advertisements

Easy Science for Kids

I really love this magic milk science experiment for kids. It only requires easy to source ingredients, it works every time and it’s always fun! We have put a simple Valentine’s Day spin on it today to make it extra fun and topical!

Advertisements

This is what you will need:

A shallow bowl or dish

Full cream milk

Cookie cutters (optional)

Food coloring

Dish washing liquid

Q-tips

Advertisements

This is what you will need to do:

1. Carefully pour a thin layer of milk into your dish. Place the cookie cutters into the milk.

Advertisements

2. Gently drop colored food dye into the milk. You can use any colors that you like. We added red, pink and purple to fit in with our Valentine’s Day theme. Remember to drop the food dye inside the cookie cutters too.

Advertisements

3. Next, take a Q-tip and dip it into the dishwashing liquid. You won’t need a big scoop, just dip the Q-tip in the dishwashing liquid, leave it for a second or two and then remove. Once you’ve removed the Q-tip from the dishwashing liquid, place it into the milk. Watch the milk dance!

Advertisements

Why does the milk dance, what is the Science behind it:

  • Milk is not just white water. It is full of MOLECULES called proteins, minerals and fats.
  • When you add the detergent to the milk, the detergent chases the fats in the milk.
  • Because we added the food colour we can see this game of chase in the dish.
Advertisements

Thank you for reading! Here is a fun and FREE Valentine’s Day number match game for you! I hope that you enjoy!

Advertisements
Advertisements

Easy Valentine’s Scissor Skills for Kids

I think that it’s super important for kids to learn how to use scissors confidently, safely and accurately. Here is a fun activity that you can set up for your little ones this Valentine’s Day to get those snipping and cutting skills developing. This activity is quick and inexpensive to set up, and the addition of the hearts to the top of the strips of paper extends the activity by giving it direction.

Advertisements

This is what you will need:

Colored construction paper

Black marker pen

Scissors

Glue stick

Sticky-tac

Advertisements

This is what you will need to do:

1. Start by cutting your strips of paper. These strips can be any size that you like. As a guide, the strips that I cut were 5cm wide and 21 cm long. Next, take your marker pen and draw dashed lines along the length of the paper. You can make straight lines if your children are just starting to learn how to cut, or more challenging curved and zig zag lines if your children are more experienced with scissors. I then used a glue stick to paste the heart to the top of the line. The positioning of this heart gives the strip of paper direction. That is, you cut towards the heart and away from your body.

Advertisements

2. Next, simply use a small amount of sticky-tac to attach your strips of paper to the wall. Ensure that they are attached at a good height for your child. Avoid attaching them too high or too low, as this may make the activity dangerous for your child.

Advertisements

3. The final step is to simply start cutting. Remember that scissors are sharp and that you should ALWAYS closely supervise your children and students when they are using scissors. By encouraging your children to cut towards the heart, you are teaching them to cut away from their bodies – a really safe scissor practice.

Advertisements

!WARNING! Please remember that scissors are sharp and that you should ALWAYS closely supervise your children when they are using scissors!

Advertisements

If you would like more information on teaching your children how to use scissors you may like to have a look at my Scissor Skills Ebook here:

https://payhip.com/b/yBe4
Advertisements

And please download this FREE printable Valentine’s Day scissor skills worksheet here:

Thank you for reading! Jacinta Xx

Advertisements

My Top 5 Easy Valentine’s Day Crafts for Kids

I really love Valentine’s Day activities! They’re super easy to put together, often require inexpensive materials and always look lovely when finished! I have published many Valentine’s Day crafts over the years, if you scan through my Instagram you will definitely find some cute and colorful inspiration.

In this blog article, I outline my top 5 most easy Valentine’s Day crafts for kids. You will find all the FREE worksheets required below!

Advertisements

1. Color Match Hearts

I first published this activity on my Instagram about 5 years ago! I think that it might have been my first post that received a significant number of likes! To put this activity together, simply draw some hearts using different colored markers onto a piece of paper and then ask your child or students to color the hearts with a corresponding colored marker, pencil or crayon. We actually like to paint our hearts with water color paints. You can draw your own hearts or download the FREE workbook below for the worksheet that I have presented here.

The worksheet will look like this when printed.

Simply, color the hearts with crayons, pencils, marker pens or even paints! It’s fun!

Advertisements

2. Geometric Hearts

I first posted this activity on my Instagram in September last year. For the posted activity, I cut a heart shape from a piece of recycled cardboard. We then added strips of washi tape and painted in between with colorful poster paint.

For this activity, just print the second page of my FREE workbook that you will find below. The worksheet will look like this when printed.

Then take a black marker pen and a ruler, and rule lines between the numbers. Start by ruling a line between the numbers 1 and 2, then 2 and 3, and so on.

Once you have ruled all your lines, grab some colored marker pens and color between the lines. You can make your heart as colorful as you like.

Advertisements

3. Heart Puzzles

Heart shapes can be cut in half to make great puzzles! In this activity, I have made a simple color match puzzle. Simply print out the worksheet, it will look like this.

When you have your worksheet, carefully cut the hearts out with scissors.

Next, cut along the center line to make two puzzle pieces. Then match the pieces back together to make a full heart shape.

Advertisements

4. Loose Parts Heart

These loose part hearts are great for developing creativity and fine motor control. Simply print out the 4th page of the FREE workbook and collect all your loose parts. We used pom poms, stickers, small springs, colored match sticks and stickers – but you can use what ever loose parts you have on hand at home. Then simply match these parts to the lines.

The printed heart worksheet looks like this.

Next, match your loose parts to the lines on the heart.

Another fun way to develop fine motor skills is to paint along the lines. Q-tips make perfect little paint brushes to trace the lines.

5. Stacks of Hearts

You would know by now that I really love working on and developing scissor skills with my kids. In this activity, kids can practice cutting around the heart shapes and then order them from smallest to largest in size to make this fun “stacked” rainbow heart. Learning about object size and working out how to put them in order is a great early numeracy skill too!

The printed worksheet looks like this.

Start by carefully cutting the hearts from the worksheet.

!Remember that scissors are sharp. Adults should ALWAYS closely supervise children when the are using scissors!

Then stack the hearts, starting with the largest size heart and finishing with the smallest. You may like to glue the hearts together.

As an optional extension, you might like to glue your stack of hearts onto a card and gift your lovely artwork to a friend or family member.

Advertisements

Here is the FREE workbook with all the worksheets you will need to complete these activities!

Thanks so much for reading! I hope that you enjoy the worksheets. Jacinta Xx

Advertisements

The Easiest Valentine’s Collage Craft for Kids

We first put this activity together a couple of years ago using stickers. We had so much fun with it that we decided to recreate it again this year using paper collage. It’s a fun activity that inspires creativity and develops hand eye co-ordination, color recognition and size order. And, if you do not have the collage materials on hand at home, scroll down and download the FREE printable worksheet version.

Advertisements

This is what you will need:

White sheet of printer paper

Colored construction paper

Scissors

Heart shape hole punch (optional)

Ruler

Black marker pen

Advertisements

This is what you will need to do:

1. Prepare your worksheet. For this, I simply drew colored hearts down the left hand side of the white piece of printer paper. Then I ruled lines across the page with the black marker pen. Alternatively, you could print out the FREE template file below.

Advertisements

2. Then using your heart shaped hole punch, make a whole bunch of colored hearts. You can make as many as you like, but try and make at least 5-6 of each color. Any excess hearts that you make can easily be used in another craft project!

Advertisements

3. Next, simply color match your paper hearts to their correct line. You could paste the hearts down with some glue, or you can simply match the hearts in place along the line, and then once you are finished, move them away so that you can play over and over again.

Advertisements

Thank you so much for reading. Please find the free printable worksheets below. Enjoy ! Jacinta Xx.

Advertisements
Advertisements

Easy Weather Crafts for Kids

We have been fascinated with watching, recording and predicting the weather lately. Here in Melbourne, Australia, the weather can be a little erratic. It’s summer at the moment which for us means that it might be a hot 40 degree (Celsius) day, or 14 degrees with wind and rain. And even though the weather is so unpredictable, I do love where we live. How is the weather where you live? Is it more predictable than Melbourne?

Scroll down to see some of our favorite weather activities and to download a free weather chart and some other FREE fun worksheets.

Advertisements

The first activity I want to share is this fun fine motor lacing board. It is made from a piece of recycled cardboard, so its super inexpensive to make. And once you have made the board, you will be able to use it over and over again.

Advertisements

What you will need:

A piece of recycled cardboard

Blue paint

Paint brush

White paper

Scissors

Glue stick

Bamboo skewer

White yarn

Plastic needle

Advertisements

What you will need to do:

1. Cut your piece of cardboard to size. You can cut your piece of card any size that you like. The board that I made is approximately 30 x 30 cm. Next, I painted the board blue using acrylic paint and allowed the paint to dry completely. Once the paint was dry I pasted down a cloud shape onto the cardboard using a glue stick. I then used a bamboo skewer to make holes in the cardboard.

WARNING! bamboo skewers are sharp. It is a good idea for adults to make the holes in the card using the skewer.

Advertisements

2. Thread some yarn onto a plastic needle and stich some rain falling. You might like to stitch straight lines, or increase the hand eye coordination required and sew some zig zag lines. It is totally up to you how you play.

Advertisements

The second activity that I want to share with you is this super easy to make weather chart. To make one like ours, I simply painted a piece of recycled cardboard with acrylic paint and then pasted weather icons onto the cardboard. We then used a peg to mark the day that we recorded the weather.

This is what you will need:

A piece of recycled cardboard

Washi tape

Scissors

A printed copy of my free weather printables

Glue stick

Pegs

Advertisements

This is what you will need to do:

1. Cut a piece of recycled cardboard to size. There is no set size that your card should be. For reference, our piece of cardboard is approximately 30cm long and 20cm wide.

2. I then painted the cardboard with blue acrylic paint and allowed the paint to dry completely.

3. When the paint was dry, I divided the cardboard into six sections using washi tape.

4. Then I simply printed out weather icons and pasted them onto the cardboard. You will find the FREE printables below.

5. Finally, I labelled some small pegs with the words today, yesterday and tomorrow. I printed these labels, but you could very easily write the words on the pegs.

Advertisements

You will find your FREE weather chart printable here:

Advertisements
Advertisements

Easy Winter Math for Kids

I love this colorful mitten number match game I posted on my Instagram this morning! The mittens are super simple to cut from colored construction paper and then you can play with them anyway that you like. You could match pom poms, stickers – any loose parts that you might have. Don’t feel restricted to only adding the pegs.

Advertisements

What you will need:

Construction paper

Pencil

Scissors

Glue

Pegs or clothespins

Advertisements

What you will need to do:

1. Draw and cut mitten shapes from colored construction paper. I used my Cricut maker to cut mine. Once you have cut your mitten shapes, label them with a number.

Advertisements

2. Match pegs or loose parts to each mitten. You can match numbers, colors, shapes – anything that you like.

Advertisements

Here are some fun and FREE mitten match printables for you!

Advertisements

Thanks so much for reading! Please feel free to leave any comments you might have below and I will get back to you! Jacinta Xx

Advertisements

Christmas Crafts for Kids

I thought that I would share this fun scissor skill activity with you. It is super simple to set up and only requires really simple materials – things that I am sure that you will already have at home!

PS: It feels like ages since I have had a chance to sit down and write a blog post. Life has been crazy lately – good crazy though!

!WARNING: Scissors are sharp. Adults must ALWAYS closely supervise children when they are using scissors.

Advertisements

This is what you will need:

White paper or cardstock

Pencil

Ruler

Scissors

Off cuts of red and skin colored paper

Hole punch

Glue stick or white school glue

Black marker pen

Small white pom poms

Advertisements

This is what you will need to do:

1. Take your piece of white paper or cardstock and rule lines along the length of the paper. Our lines have been rules approximately 5 cm apart – but you can make your lines any width that you would like.

Advertisements

2. Carefully cut along the lines with scissors to make your strips of paper.

Advertisements

3. Take your hole punch and make circles in different skin tone colored paper. Glue the circles onto the white paper. I positioned our circles so that they overlapped the cardstock edge. Simply fold over the excess paper and glue down to secure.

Advertisements

4. Next, cut some little hat shapes from red paper.

Advertisements

5. Take your glue stick and attach the hats to the very edge of the paper strips.

Advertisements

6. Glue down some pom poms to the ends of the hat and draw happy faces onto each Santa with black marker pen.

Advertisements

7. Using your black marker pen, draw a series of lines along each strip of paper. You can be as creative as you like with the lines that you choose to draw. I have mixed up a series of short lines and long lines. Then, carefully cut along the lines with scissors.

Advertisements

Thank you so much for reading! Jacinta Xx

Advertisements

Here is the Santa Claus Scissor Skills Worksheet for you!

Advertisements
Advertisements

Easy Christmas Activities for Kids

This fun activity is perfect to make in the lead up to these holidays. It’s great for developing color recognition, counting and fine motor skills. And the fact that it is made from recycled and easily accessible materials also means that it is inexpensive to set up!

Advertisements

This is what you will need:

A piece of recycled cardboard

Pencil

Ruler

Green paint

Glue – I used white school (PVA) glue

Recycled bottle tops – I used milk bottle tops

Circle stickers

Pom poms

Tweezer or tongs

Advertisements

This is what you will need to do:

1. Cut a piece of recycled cardboard to size. You can use any size piece of cardboard that you like. Use a pencil and ruler to draw a triangle shape and then paint it green. You might also like to paint a star on the top of your tree. I wish that I had! If you do not have green paint, you can always use crayons, marker pens or even pencils.

Advertisements

2. Once your green paint is dry, glue down the bottle tops onto the tree. I lined our bottle tops up in rows, but feel free to spread them across your tree in any pattern that you like.

Advertisements

3. Label the bottle tops with some colored circle stickers. If you do not have circle stickers, you could always cut some small circles from colored paper and glue them down instead.

Advertisements

4. Match the pom poms to the bottle tops. Repeat and play over and over again. We used tweezers to transfer the pom poms to the bottle tops – this is great for developing fine motor skills – but feel free to use fingers, a peg or any other tongs that you might have at home!

Advertisements

I hope that you enjoy this activity! Let me know how you find it! Jacinta Xx

If you are unable to make one of these Christmas trees yourself or if you would like a quick alternative, try this fun, FREE printable version of the game.

Advertisements

And here are a couple more FREE holiday printable worksheets for you! There is a match the upper and lower case letter game, a count and color game and, a find and color the shapes game!

Advertisements

I would love you to share these fun worksheets to Instagram! If you do, please tag me so that I can see how you used them.

Advertisements